Viewer plugin for Autodesk Revit (pre-24.0 only)
NOTE:
Since version 24.0, use the free version of Checkbot to link your CAD application with IDEA StatiCa.
-----------------------------------------------------------------------------------------------------------------------------------
1 How to activate the plugin
- Download and install (as administrator) the Viewer plugin for Autodesk Revit.
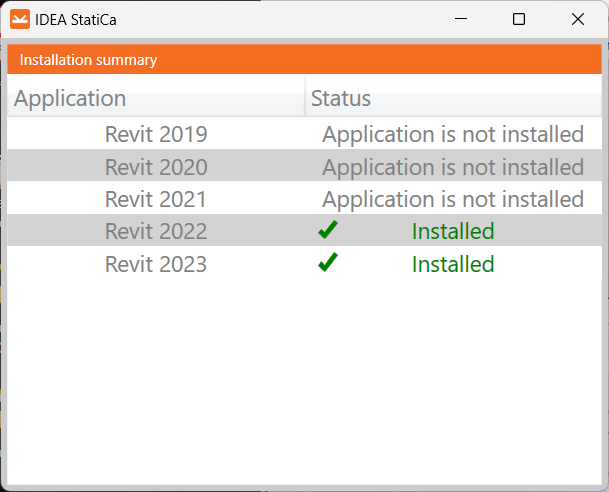
- Make sure that you are using the supported version of Revit.
- The displayed table will show you the status of the installation.
- Please note that you need an internet connection to work with the Viewer plug-in.
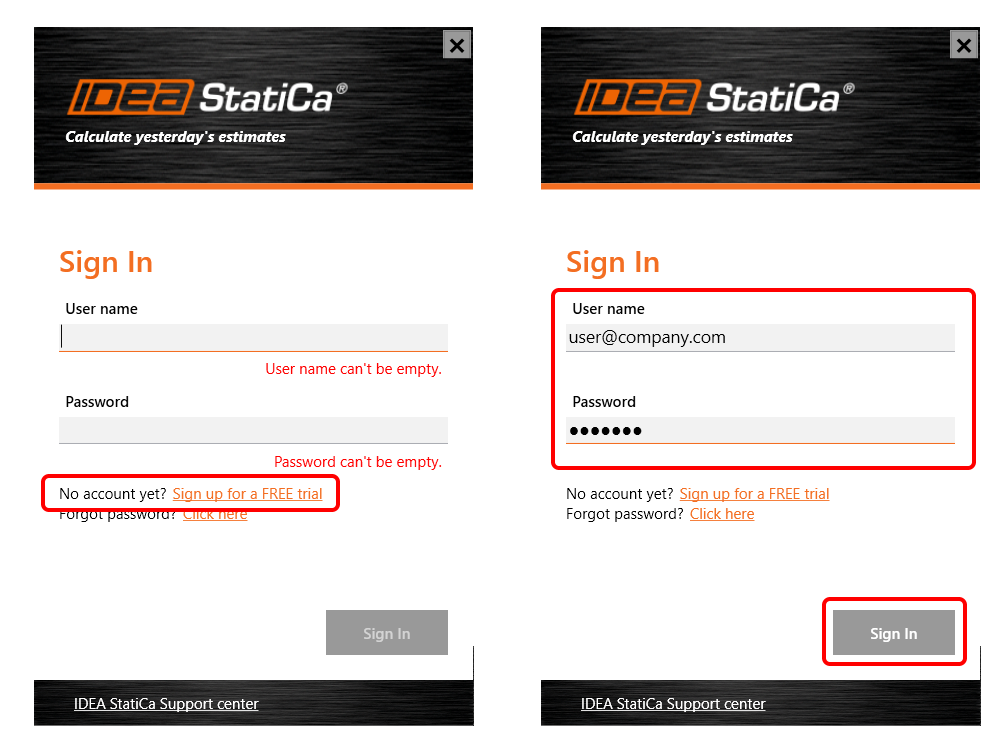
The first time you use the Viewer plugin, the application asks for a sign-in.
Use your credentials for your IDEA StatiCa license. If you do not have the account (any type of license) yet, you can use the IDEA StatiCa Basic plan or sign up for a trial license, and the credentials will be sent to you. Don't worry; you will be able to use the plugin for free even after the 14-day trial period.
2 How to use the plugin
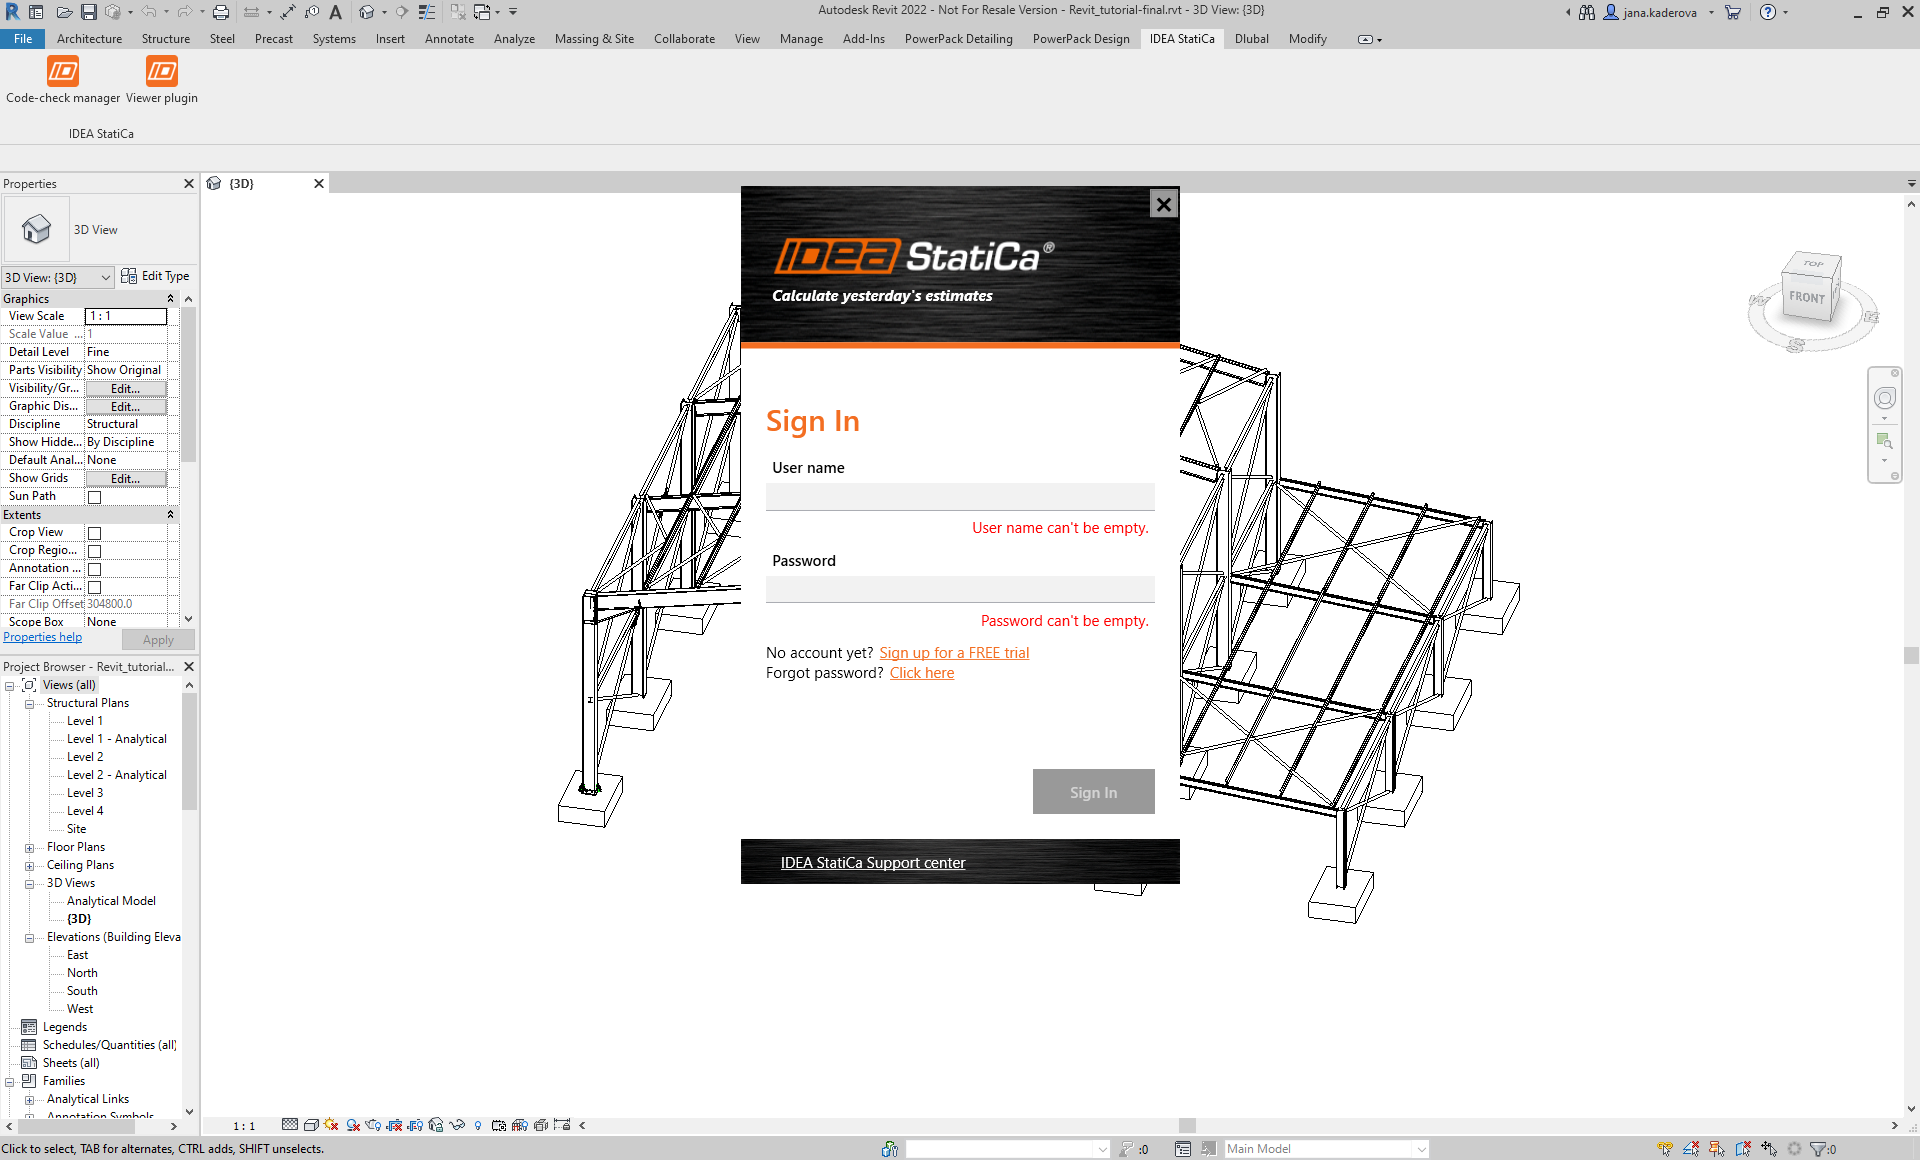
Open the project in Autodesk Revit, and design the steel connection (or you can use the attached file). You will now see a new IDEA StatiCa tab in the top ribbon that has 2 buttons:

- Checkbot – Use this if you have IDEA StatiCa with a valid license installed on your computer, and you want to export a connection straight into the desktop application. To find out more about the Checkbot application, see the detailed step-by-step tutorial.
- Viewer plugin – Use this if you don't have IDEA StatiCa license on your computer, but you need to create and send an IDEA StatiCa project file to a colleague that uses IDEA StatiCa.
Use the button in the top ribbon (IDEA StatiCa – Viewer plugin).
The first time you use the Viewer plugin, the application asks for a sign-in. Use your credentials for your IDEA StatiCa license. If you do not have the account (any type of license) yet, you can use the IDEA StatiCa Basic plan or sign up for a trial license, and the credentials will be sent to you. Don't worry; you will be able to use the plugin for free even after the 14-day trial period.
A new wizard window of the IDEA StatiCa Viewer plugin opens.
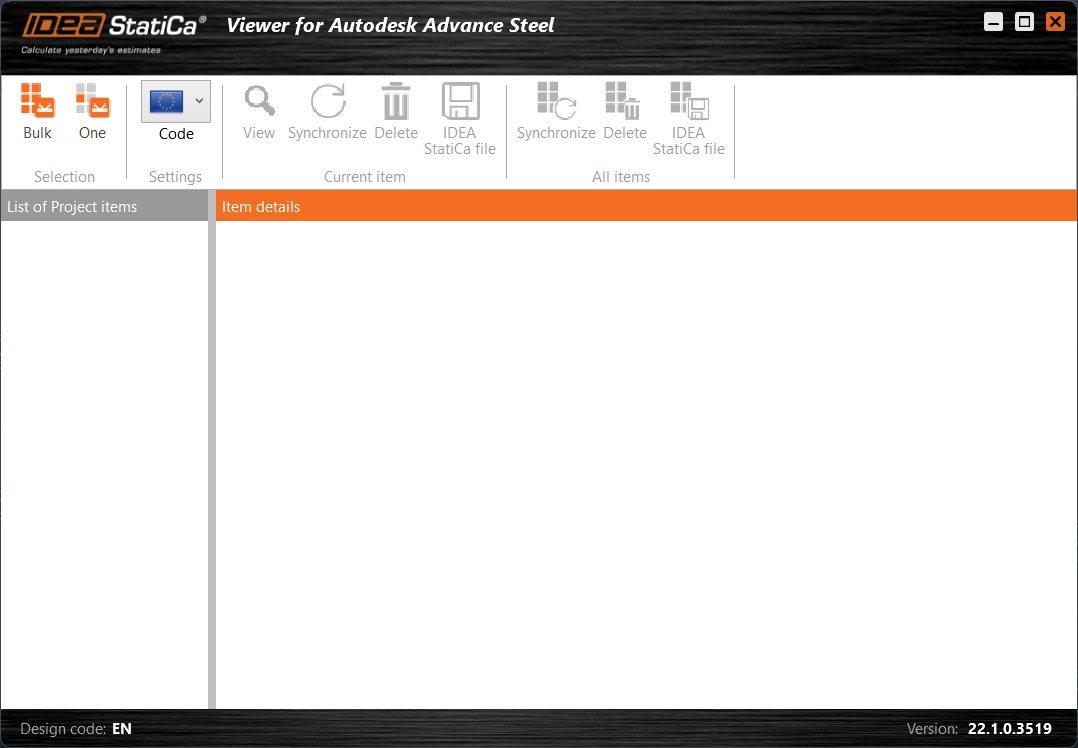
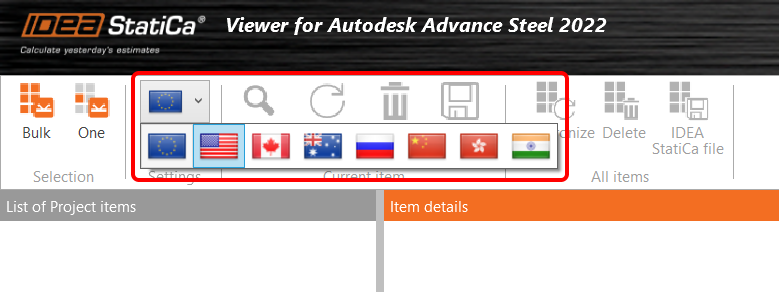
Now, you can select the national standard you want to use.
You can select between Bulk and One selection.
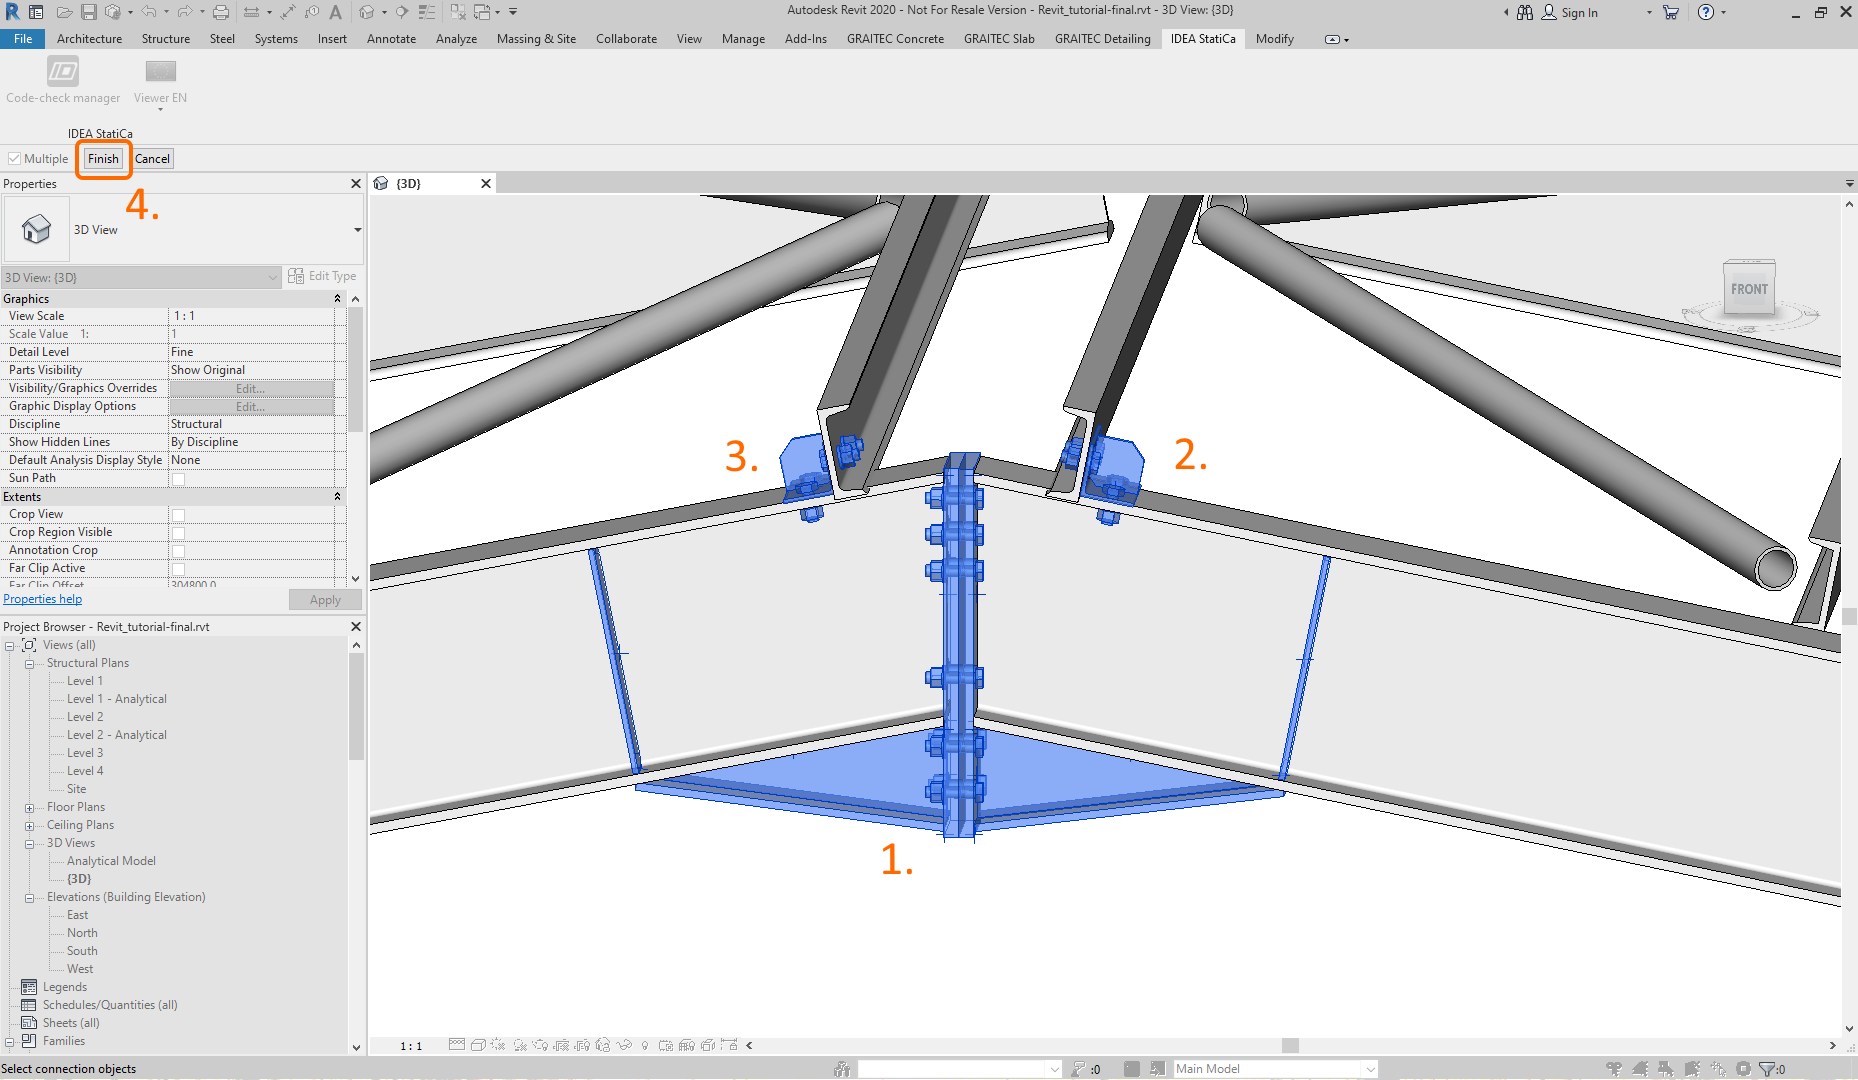
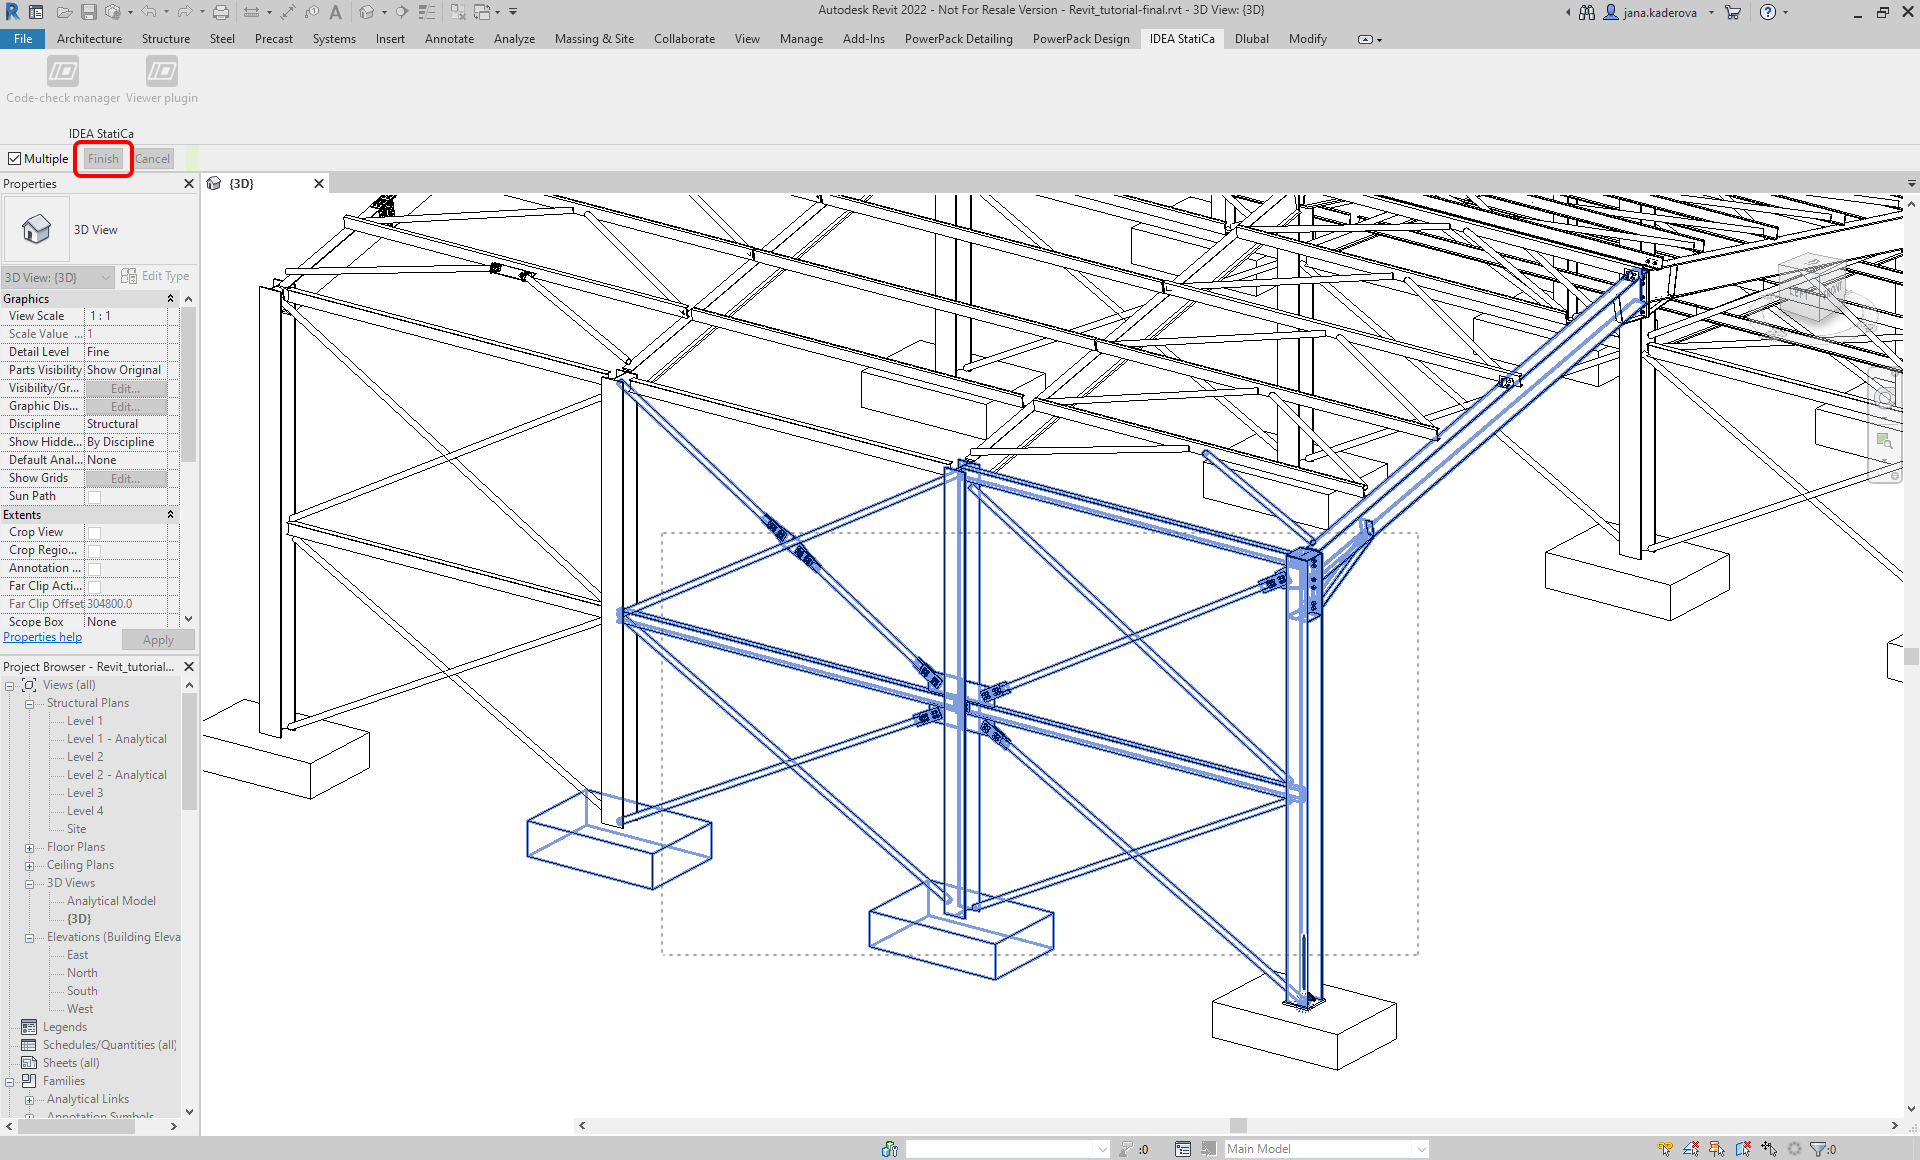
For the One option, follow the instructions from the command line in Revit:

Select all the parts of the connection. Confirm with the Finish button.
The Bulk selection works as follows:

Press Bulk and select the corresponding connections in Revit. Confirm the selection with Finish button.
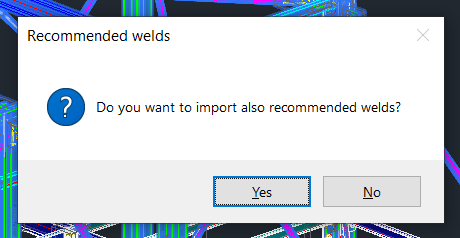
IDEA StatiCa offers the export of additional recommended welds (welds that may be needed for the proper connection between members and plates in the model).
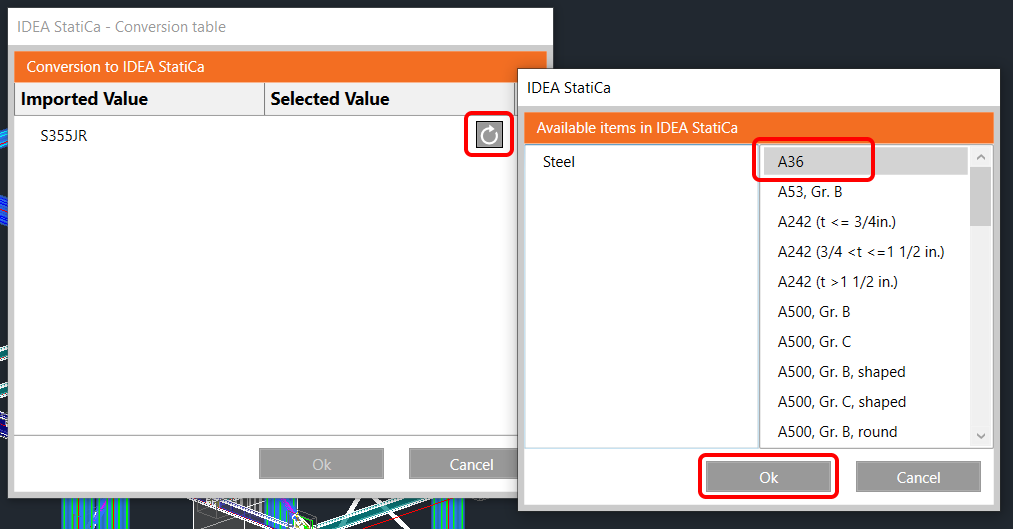
If the material is not recognized, IDEA StatiCa displays the conversion table where the appropriate material can be assigned from the list.
The wizard starts communicating with the server. After a while, your connections are exported, and you will see the list and the status. Internet connection is necessary.

Now, you can select several actions, both for a single connection (Current item) or all items from the list:
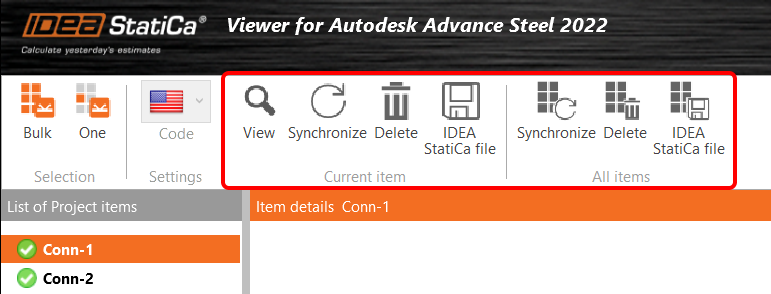
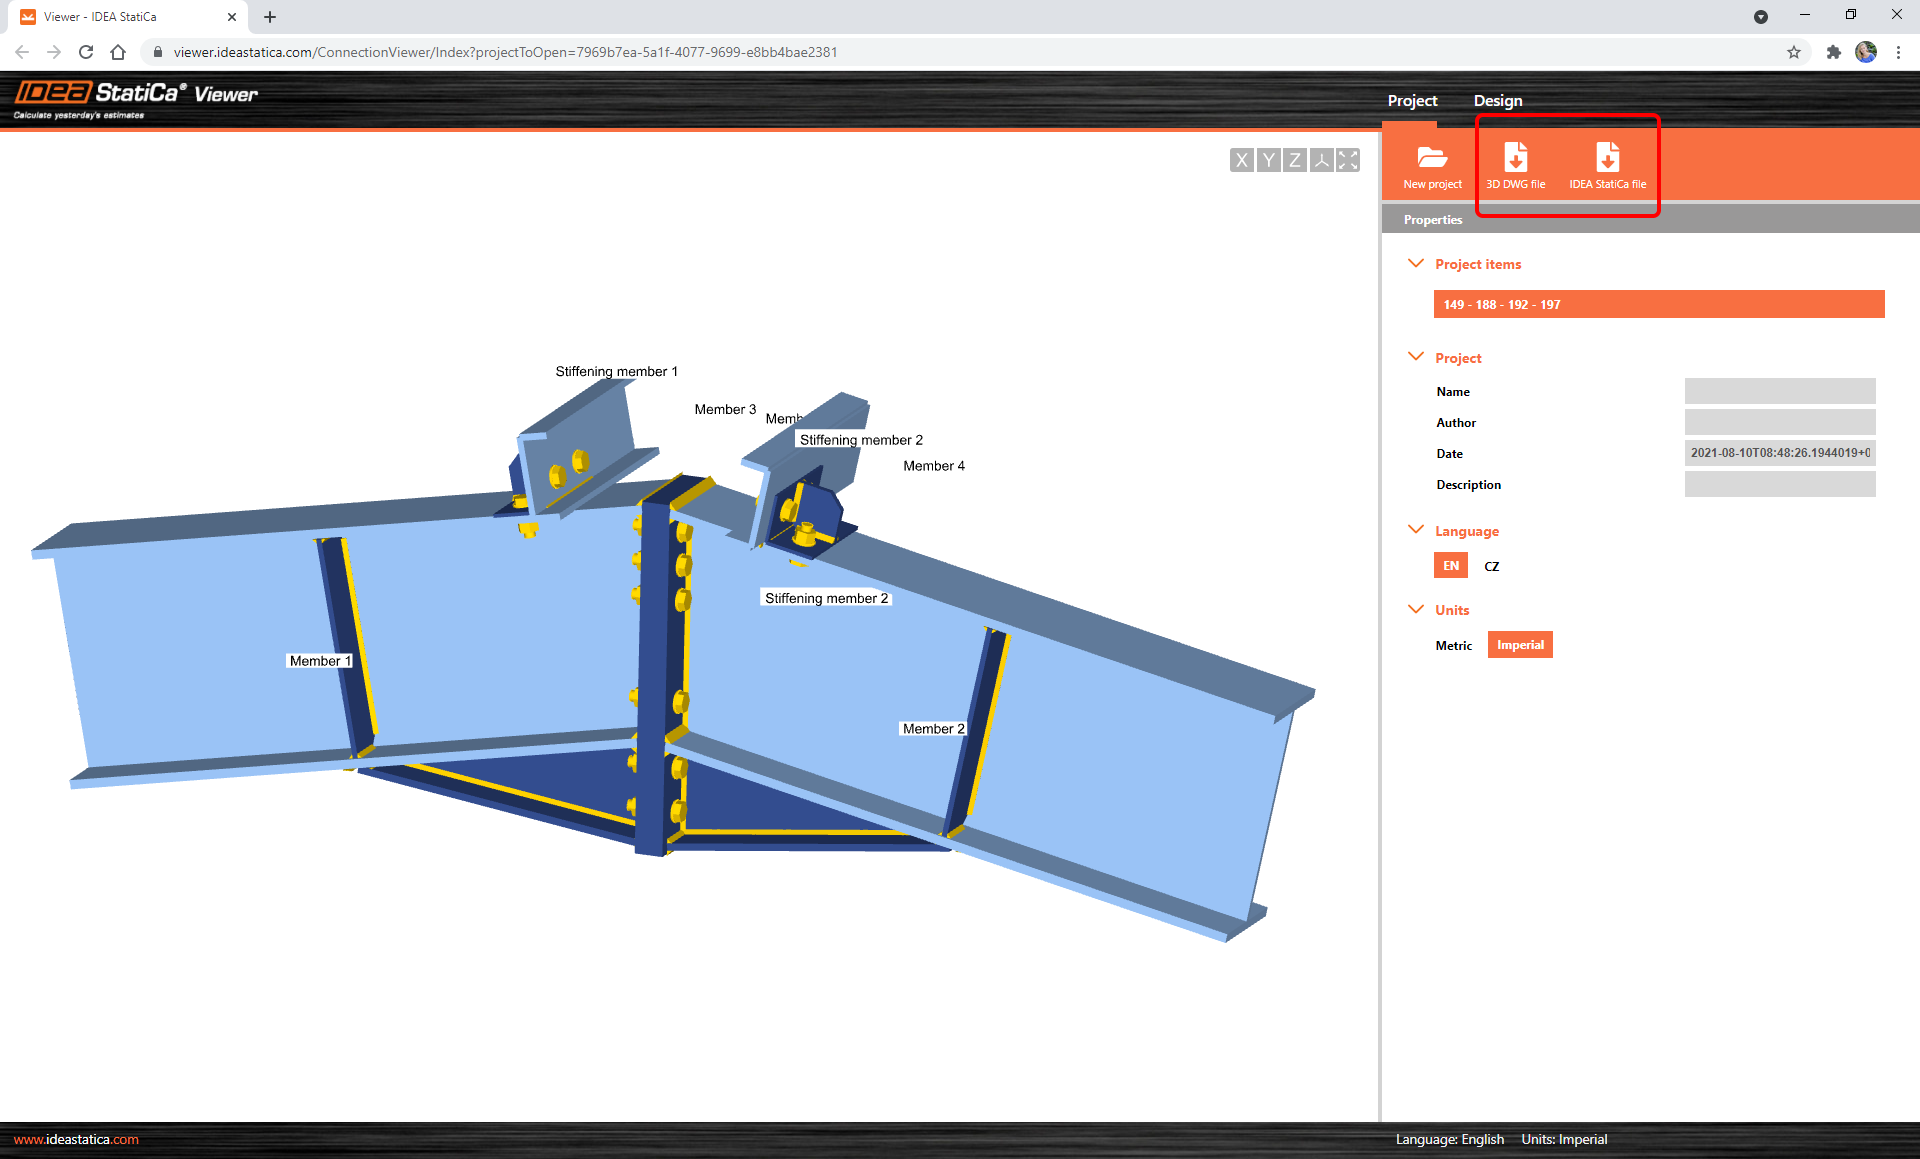
- VIEW Opens the web browser with the connection in the online Viewer.
- SYNCHRONIZE Reads the changes in the already exported connections. It is possible to sync changes like changed cross-sections, sizes/thicknesses of plates, changed bolts, etc.
- DELETE Deletes the already exported connection from the list.
- IDEA StatiCa FILE Downloads the .ideacon file to your machine. This file may be opened in IDEA StatiCa Connection, provided you have a valid license.
Other actions can be taken in the Viewer app. To download the 3D DWG file or IDEA StatiCa file, use the corresponding commands under the Project tab.