Import/export cross-section, reinforcement, and tendons in RCS
There are several options for importing and exporting geometry, reinforcement, and tendons in the RCS application. In this article, we will introduce and explain all the options. Let's dive in and explore all the ways you can efficiently create a cross-section.
General cross-section
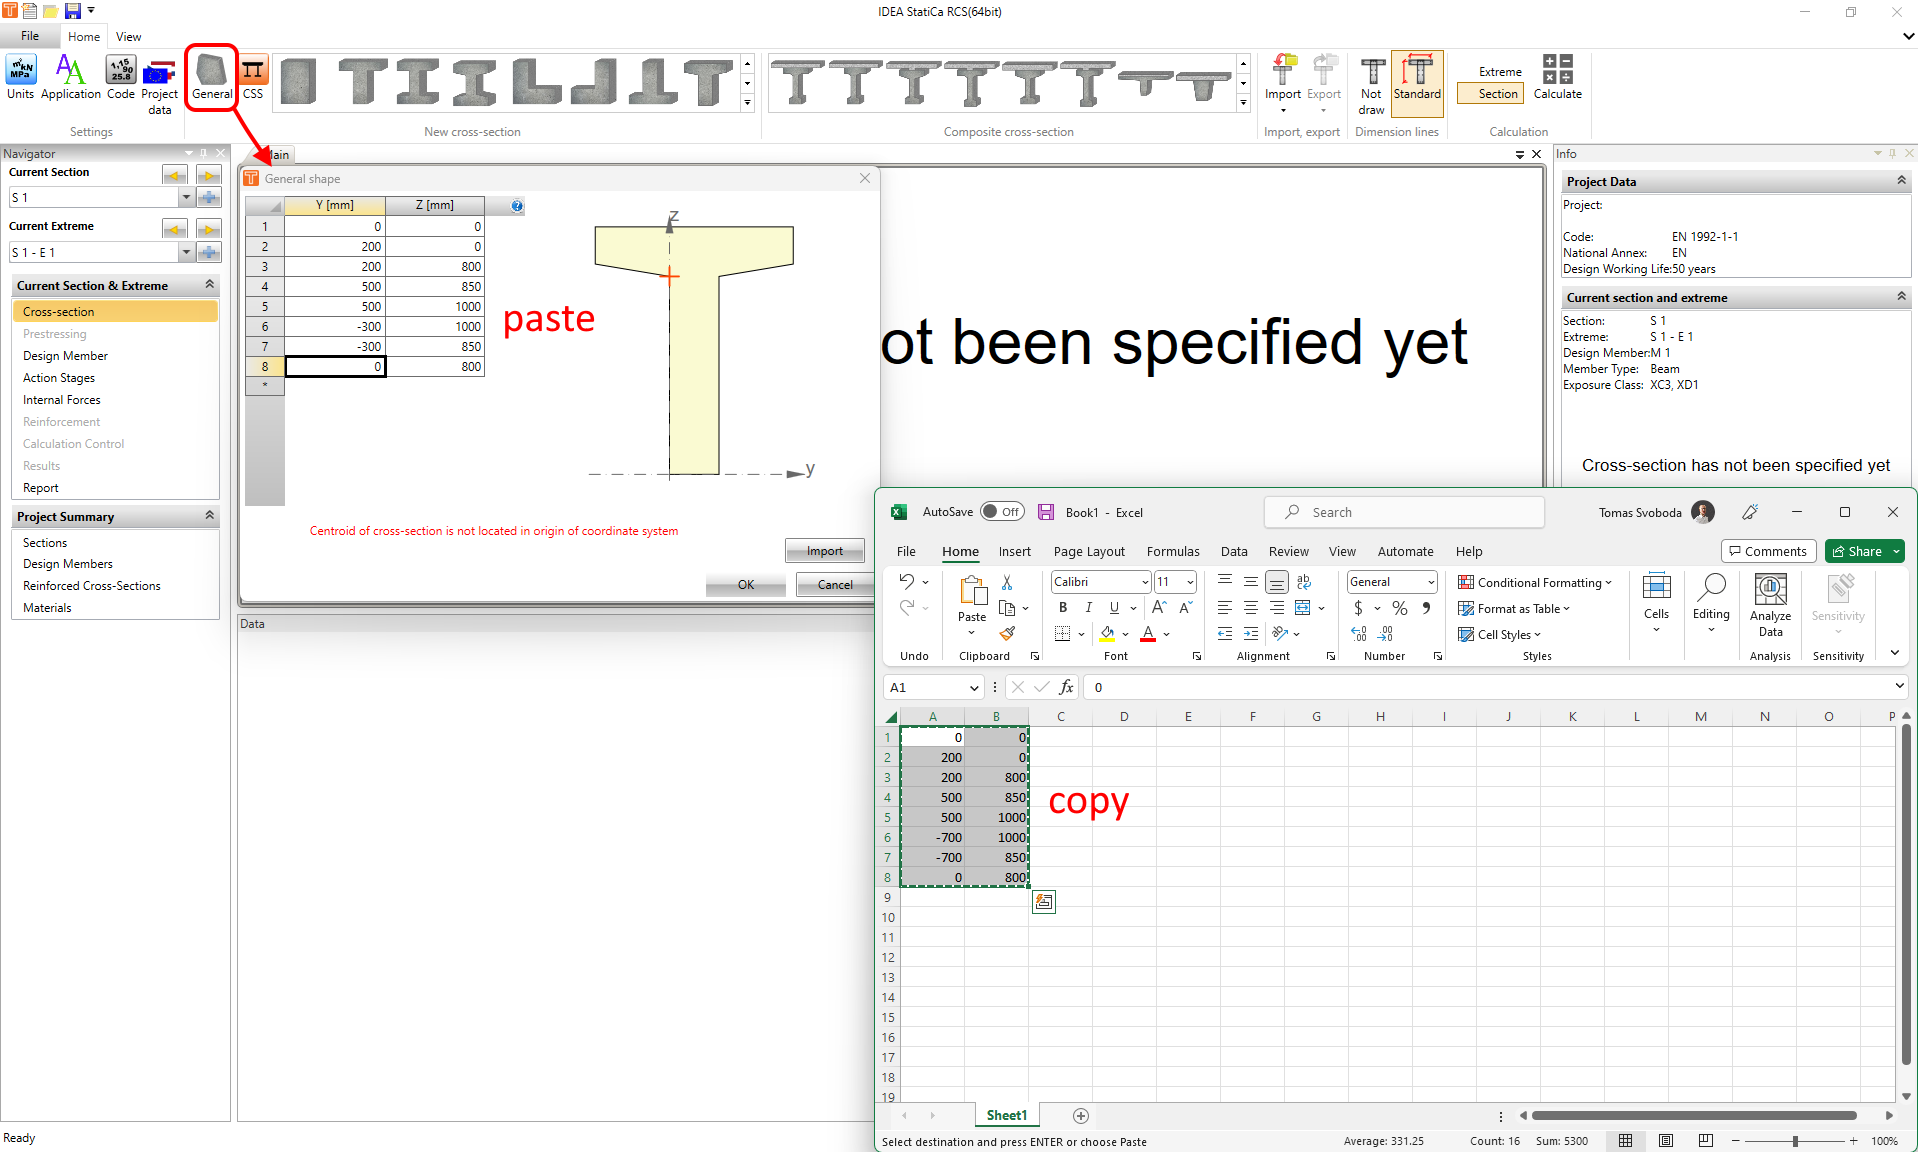
The first option is to create a cross-section by using coordinates. Click on the General button in the top ribbon and the input table will appear. After that, you can simply fill the table from your spreadsheet by using copy-paste method.
Or there is an option to use the Import button in the General shape window to import the shape from the .nav or the .txt file. These options will be explained in detail further in this article.
Import from DXF file
The second option is to launch the General cross-section editor and import geometry from the DXF file. The whole process is described in the following article:
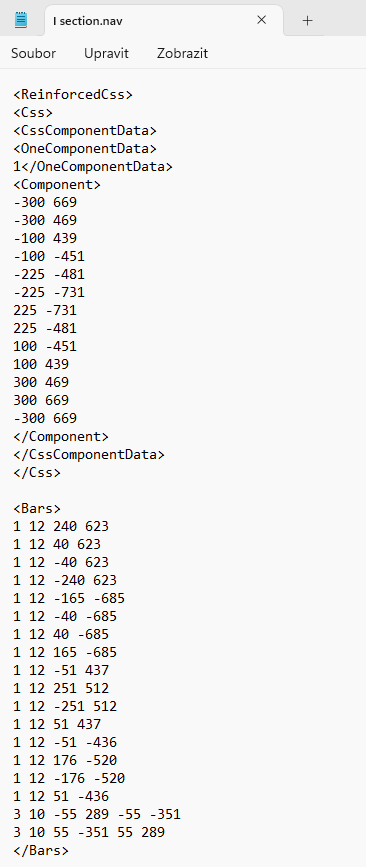
Import/Export using the .nav file
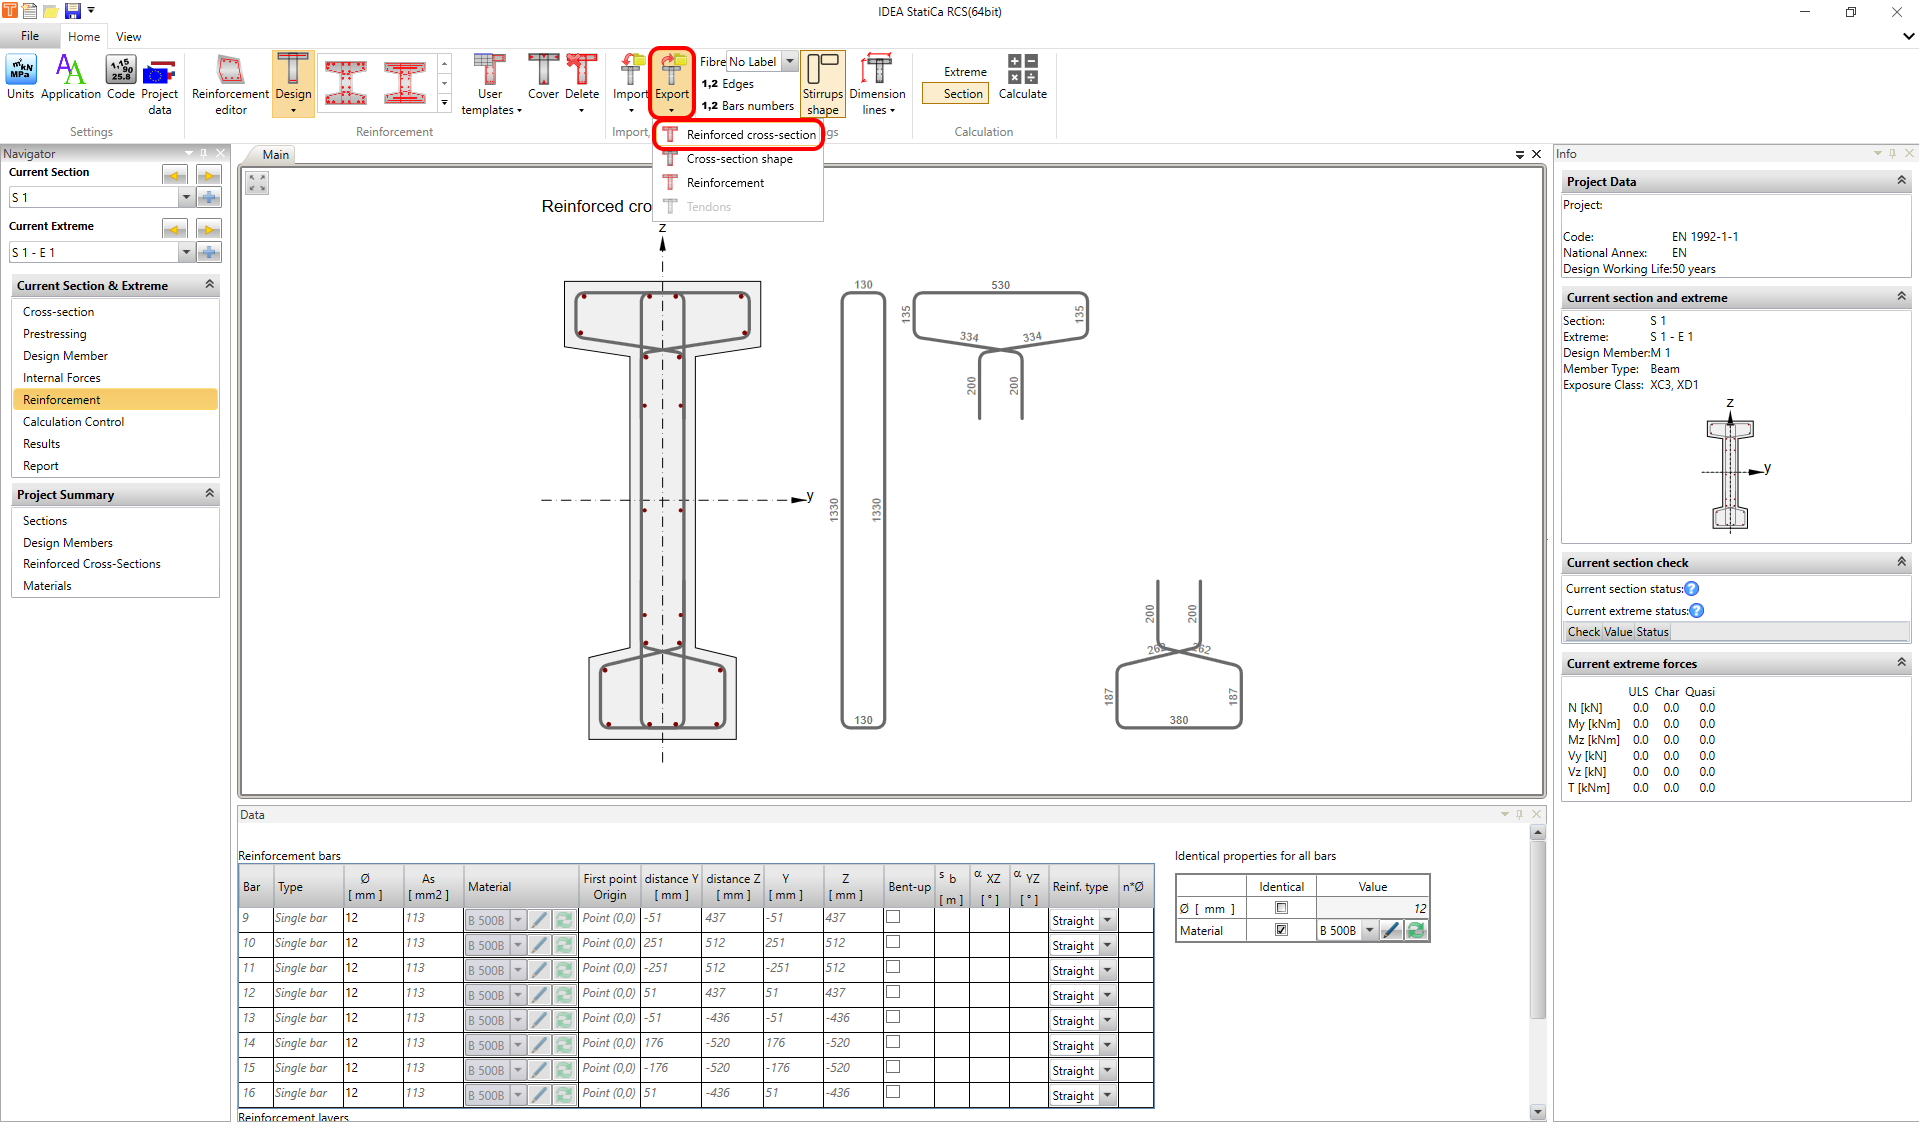
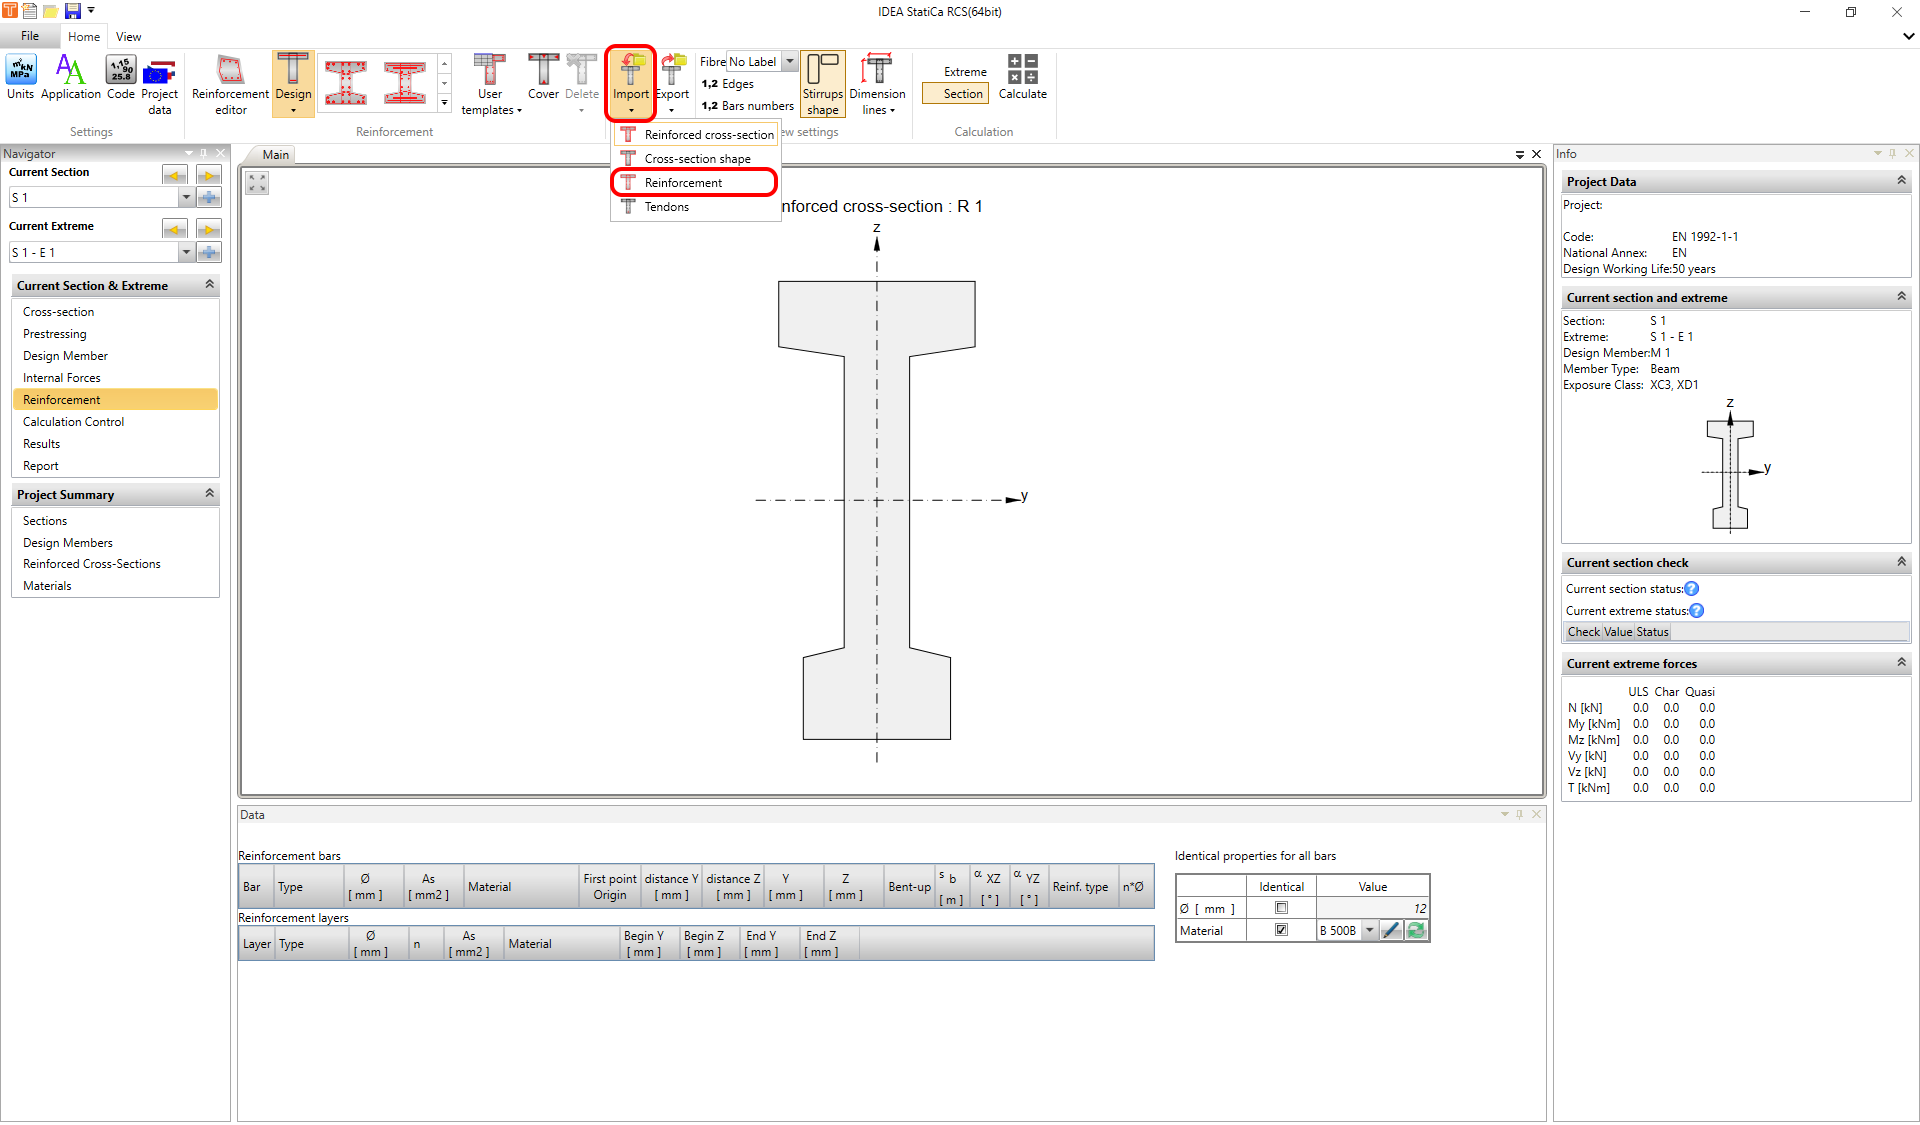
Last but not least, there's an option to use the .nav file. This functionality can be accessed from the Navigator from Cross-section, Prestressing, and Reinforcement. And it can be also found in the Reinforcement editor.
You can import or export the whole cross-section including reinforcement and tendons as well as only geometry, or only reinforcement or only tendons.
First, you need to create a file, by exporting the section.
After that, you can import the whole cross-section to the new file or section. Or for example reinforcement to a new section.
The .nav file can be opened and modified in the Notepad application. Or you can copy the prescription from your spreadsheet.
Finally, you can observe the workflow in this video.