Legătură BIM AxisVM pentru analiza flambajului elementelor metalice (EN)
1 Cum se activează legătura
- Instalați cea mai recentă versiune de IDEA StatiCa, disponibilă în secțiunea Descărcări
- Asigurați-vă că utilizați o versiune compatibilă de AxisVM – actualizările sunt publicate în secțiunea BIM
După instalarea ambelor programe, rulați IDEA StatiCa și începeți cu elementul BIM.
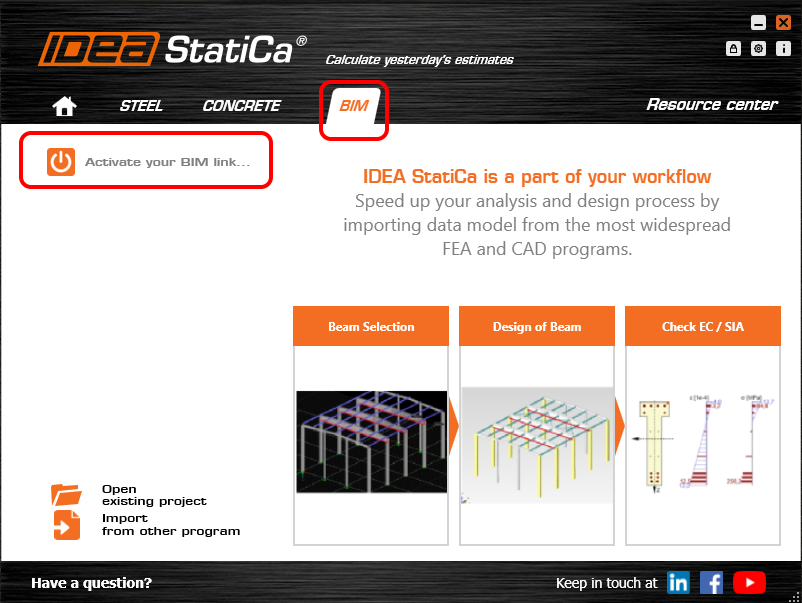
În expertul BIM, continuați cu elementul Activate your Bim Link... În timpul procesului apare notificarea "Run as administrator". Confirmați cu butonul Yes.
Selectați versiunea dvs. de AxisVM și faceți clic pe butonul Install. Procesul de integrare va începe.

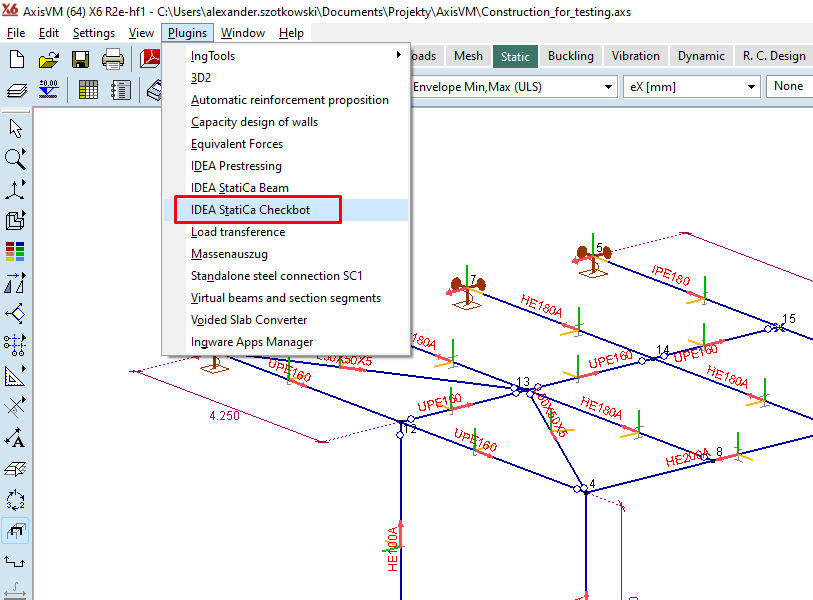
Porniți AxisVM. În meniu, toate cele 3 plugin-uri ale IDEA StatiCa sunt acum instalate în secțiunea Plugins.

2 Cum se utilizează legătura
Deschideți proiectul atașat în AxisVM, rulați mai întâi analiza liniară, apoi și analiza neliniară.
La rularea analizei neliniare, pentru simplificare, nu împărțiți elementele conform imaginii următoare.

După finalizare, mergeți la elementul de meniu Plugins și alegeți IDEA StatiCa Checkbot
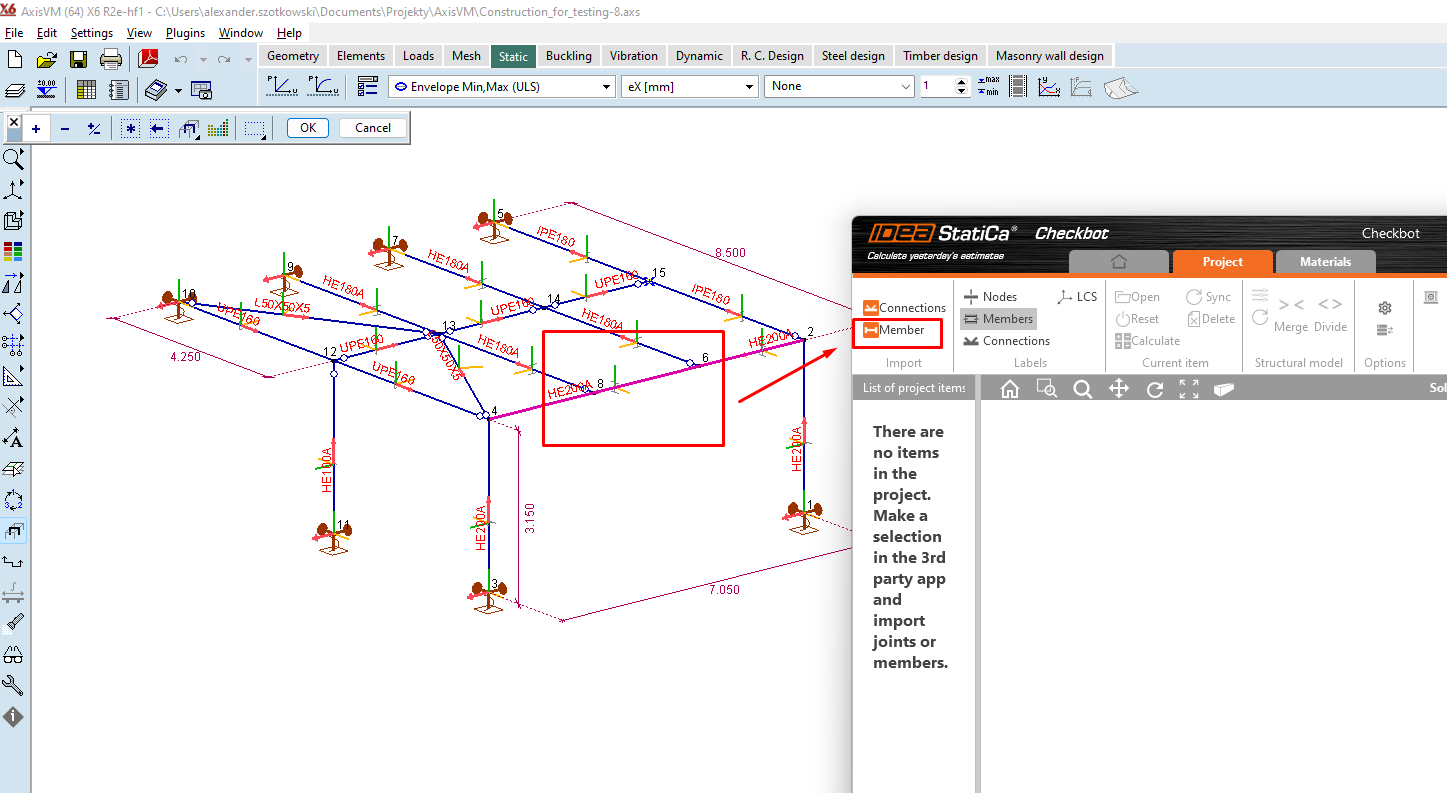
Se deschide o fereastră expert, faceți clic pe New și creați un proiect nou.

În AxisVM, selectați elementul pe care doriți să îl transferați în IDEA StatiCa Connection și faceți clic pe Member.
Deoarece întregul element este alcătuit din două grinzi separate, îmbinați grinzile M3 și M16.

Acum puteți face clic pe Open, apare o nouă fereastră cu modulul Member.

3 Proiectare
Pentru a obține analiza elementului, trebuie mai întâi să proiectăm toate îmbinările de-a lungul elementului. Puteți începe cu Nodul 2 făcând clic pe Edit connection.

Apare fereastra cu îmbinarea și puteți adăuga prima operație Cut.


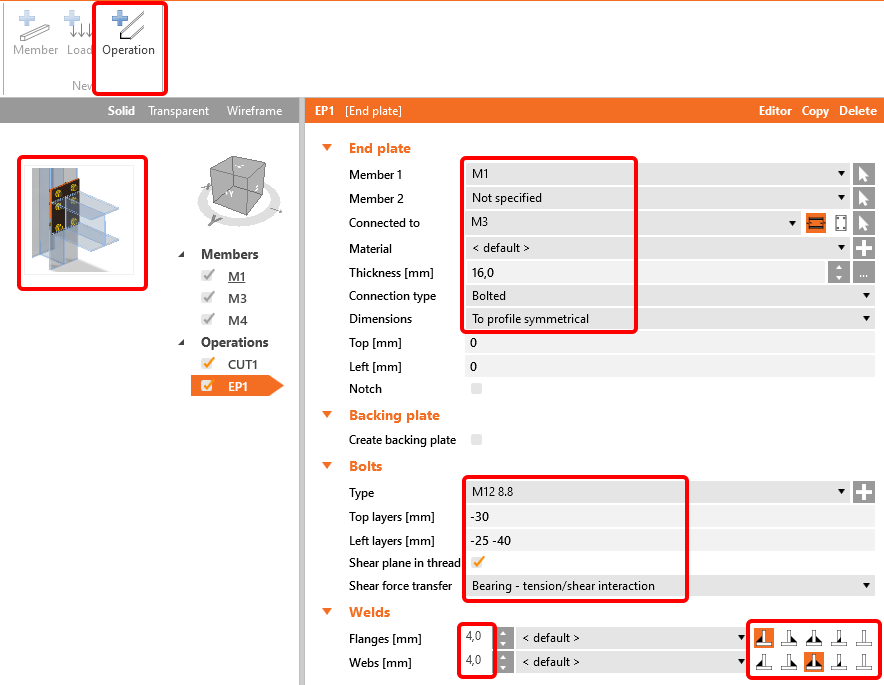
Următoarea operație este End plate. Completați datele conform imaginii următoare.
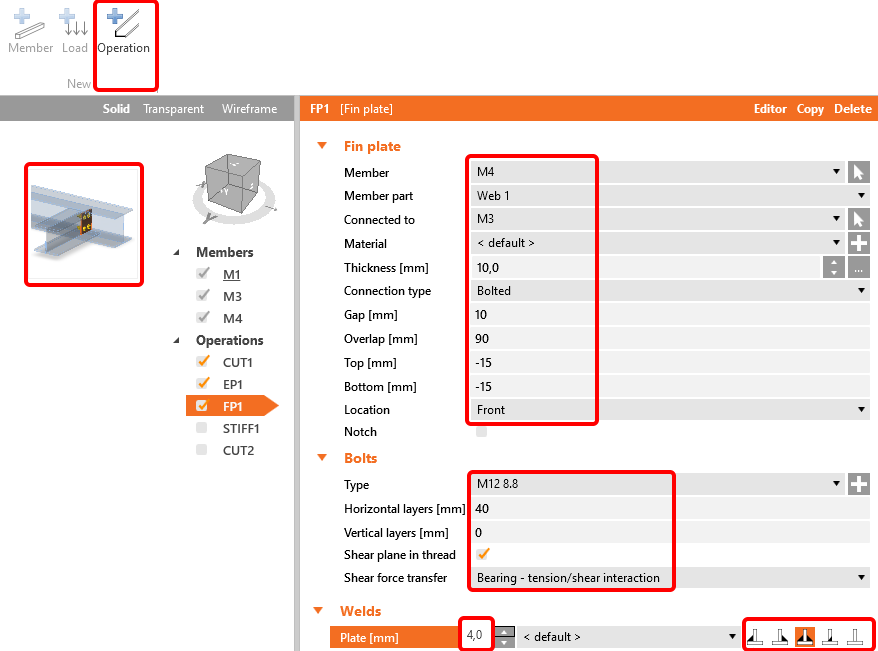
Elementul M4 îl puteți conecta folosind operația Fin plate.
Pentru a obține forma corectă a grinzii M4, utilizați operația Cut - consultați imaginea.

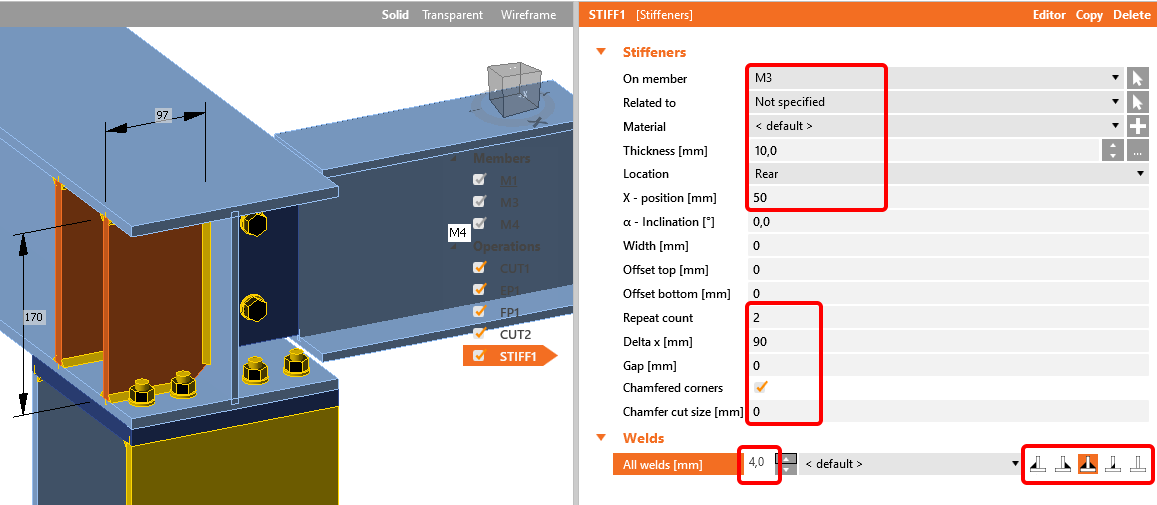
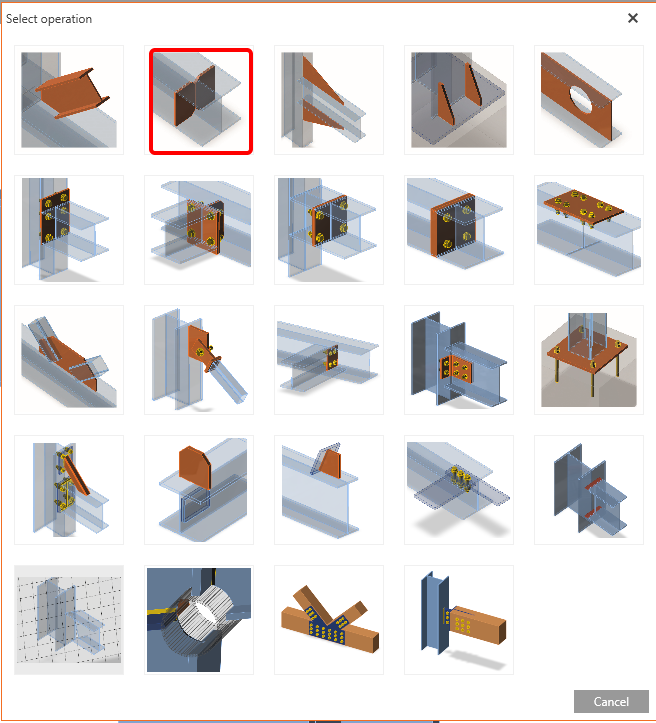
Ultima operație la această îmbinare este adăugarea operației Stiffeners.
Acum facem clic pe Save și închidem fereastra.

Același lucru trebuie făcut și pentru Nodul 6. Faceți clic pe Edit connection.

Aplicați operația Fin plate cu următoarele setări:

Următoarea operație va fi Cut al elementului M5.

Acum faceți clic pe Save și închideți fereastra.
Pentru nodul 8, puteți utiliza același proiect ca pentru nodul 6. Faceți clic pe Apply.

Iată proiectul ultimului nod 4.
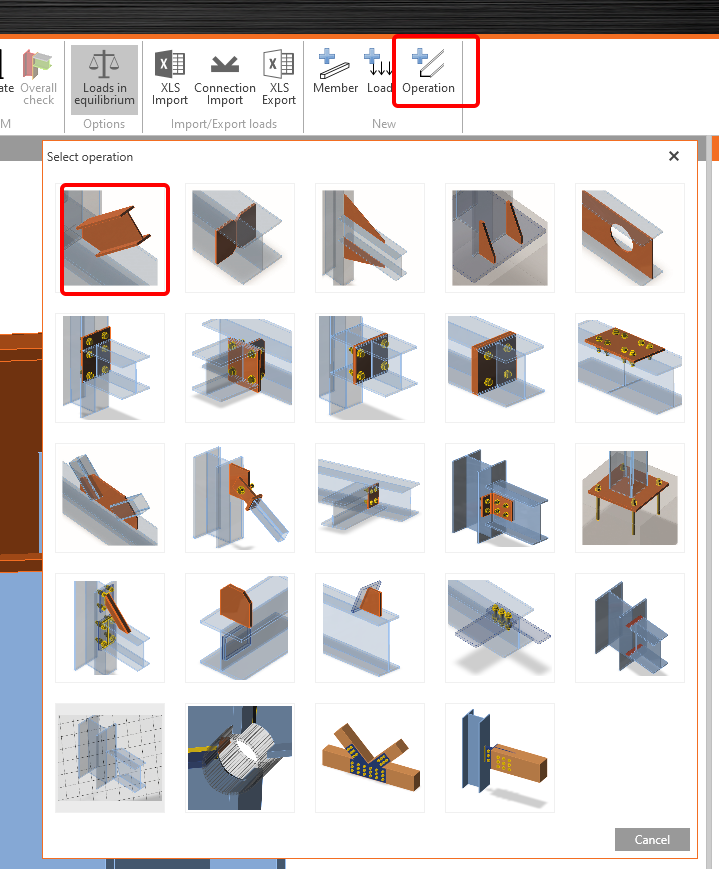
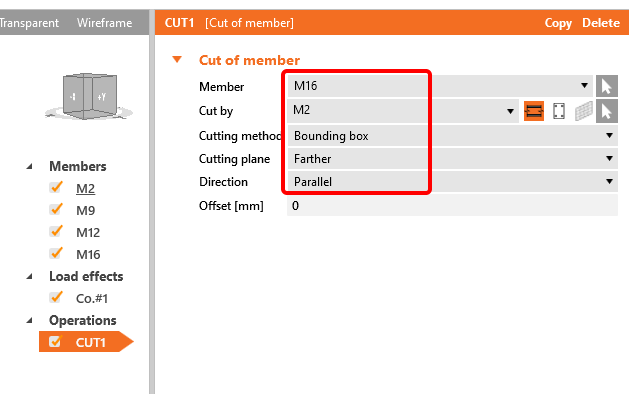
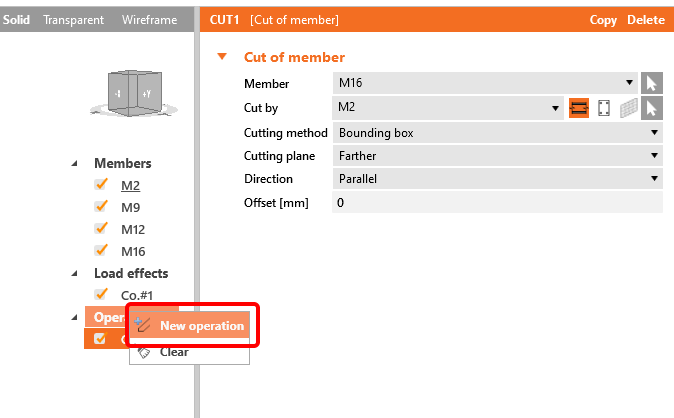
În bara de instrumente superioară, faceți clic pe +Operation și adăugați o nouă operație Cut.
Modificați tabelul conform imaginii următoare.
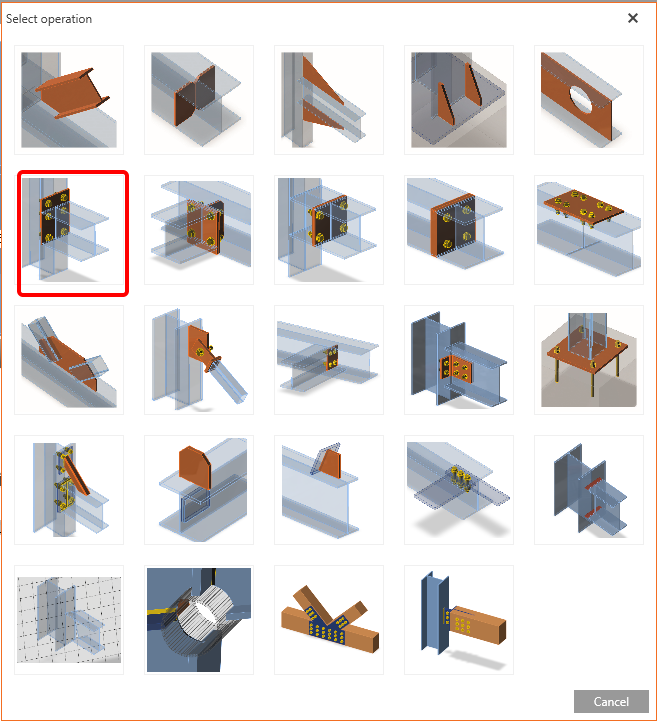
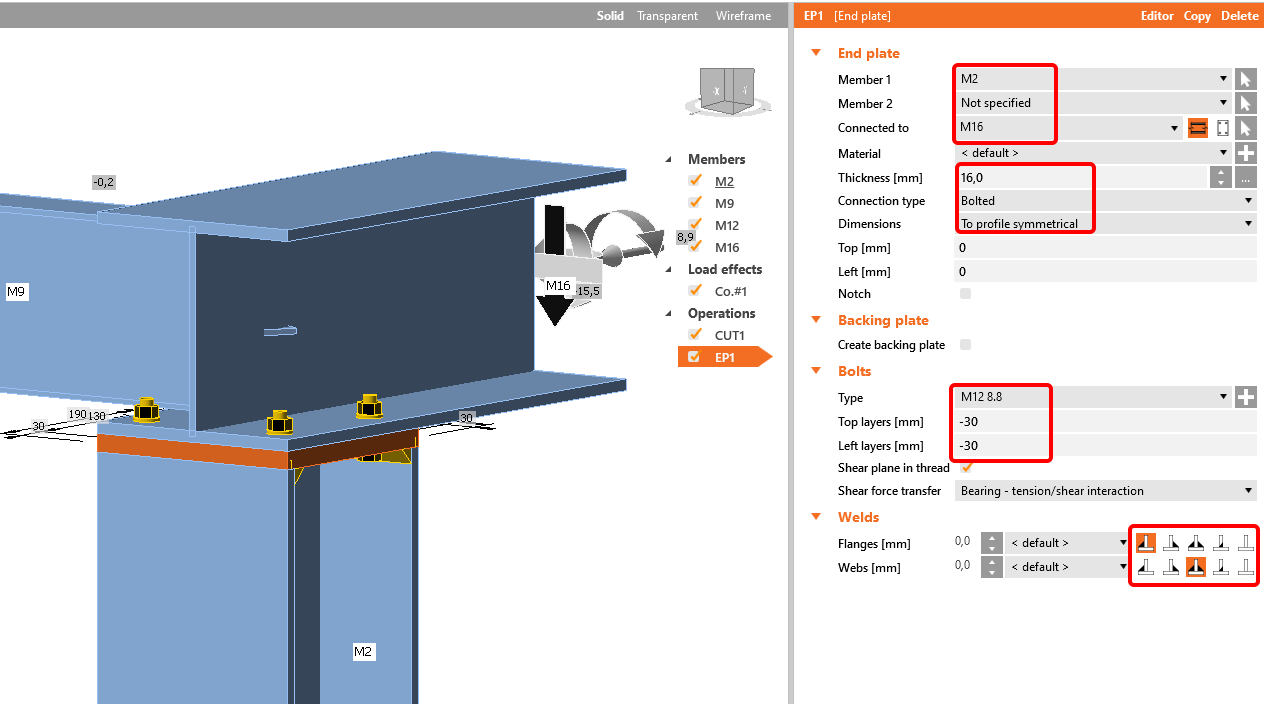
Acum puteți adăuga o altă operație făcând clic dreapta pe Operation pentru a adăuga o nouă operație End Plate. Modificați dimensiunile și sudurile conform imaginii următoare.
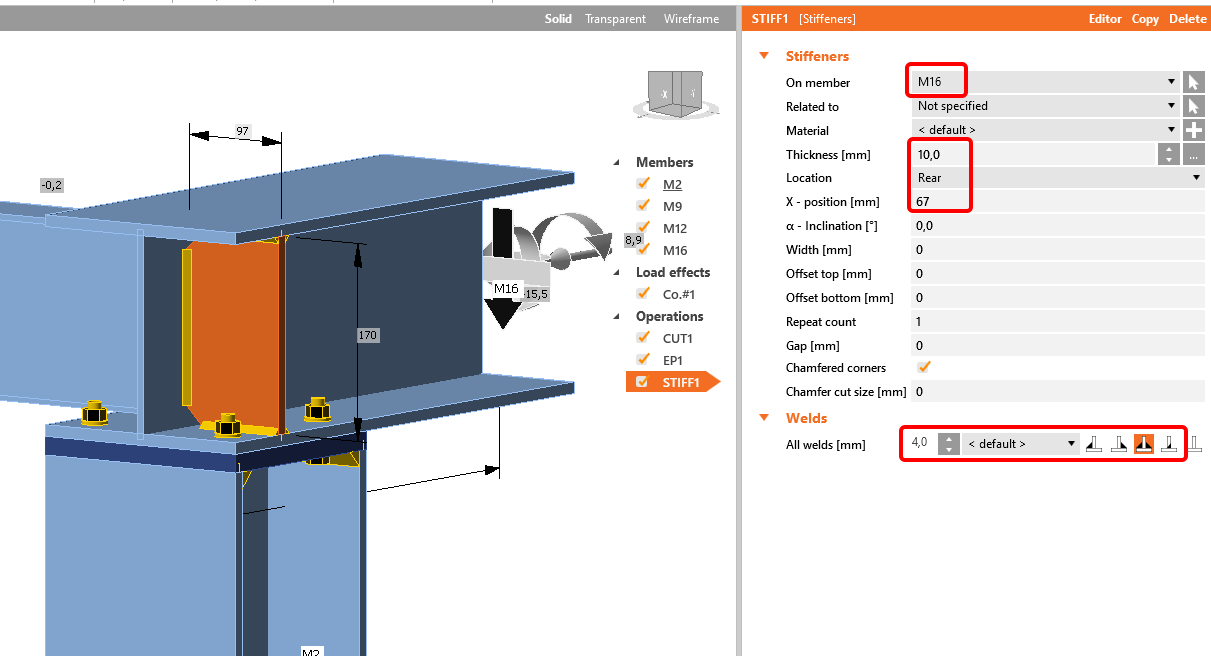
Următoarea operație va fi Stiffener. Puteți modifica dimensiunile conform imaginii următoare.
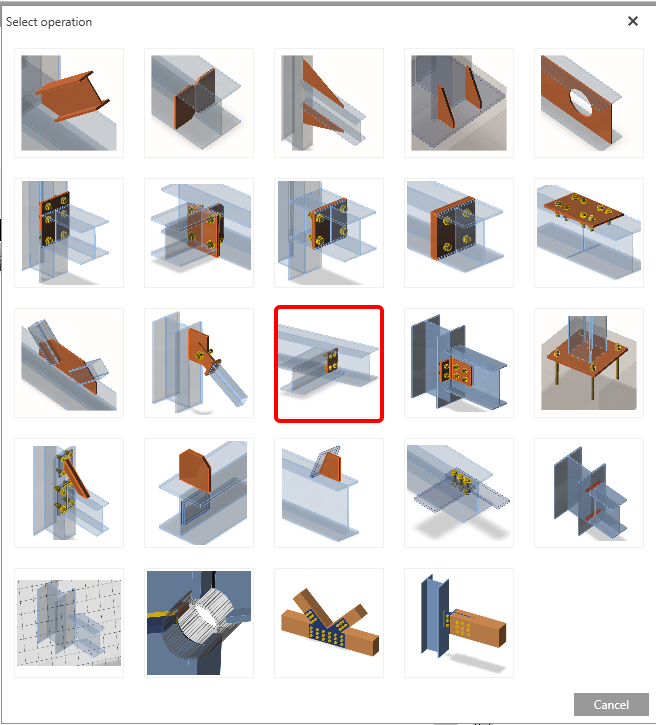
Acum trebuie să conectați elementul M9 prin operația Fin plate.
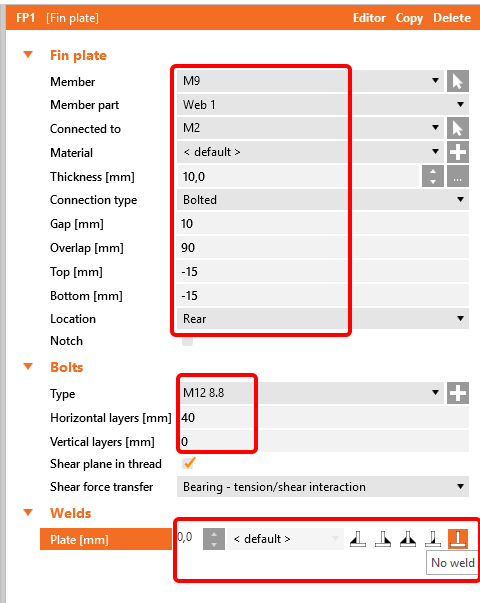
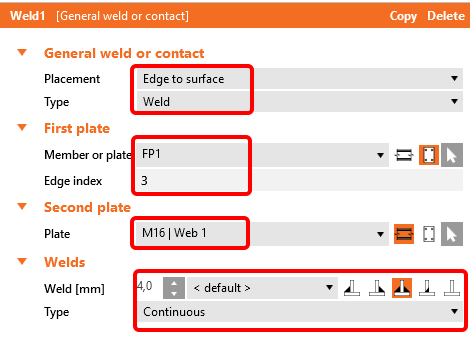
Această placă trebuie sudată de inima elementului M16. Alegeți operația Weld și setați valorile conform imaginii următoare.
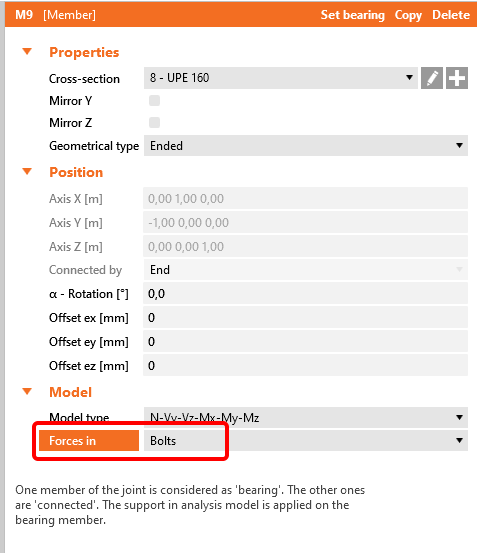
Pentru a avea o poziție corectă a încărcărilor, selectați elementul M9 și modificați în Model poziția Forțelor la Bolts. Aflați mai multe despre poziția corectă a încărcărilor.
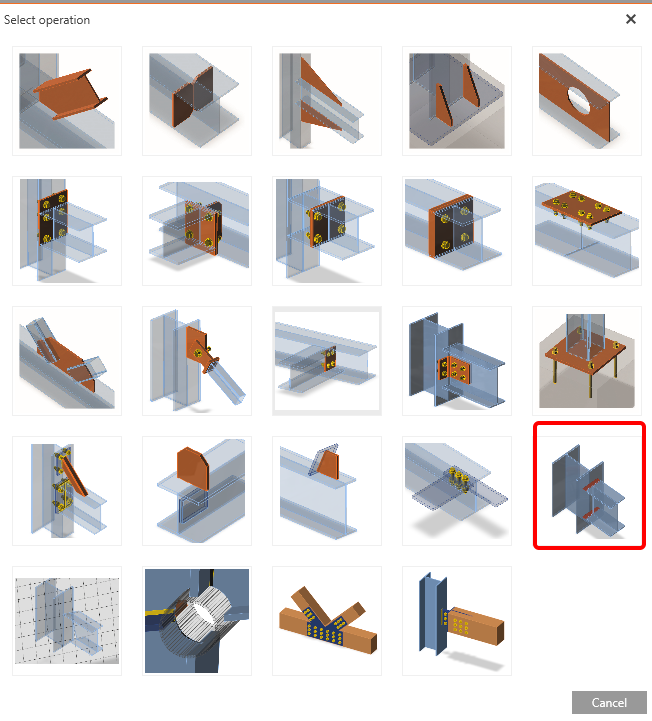
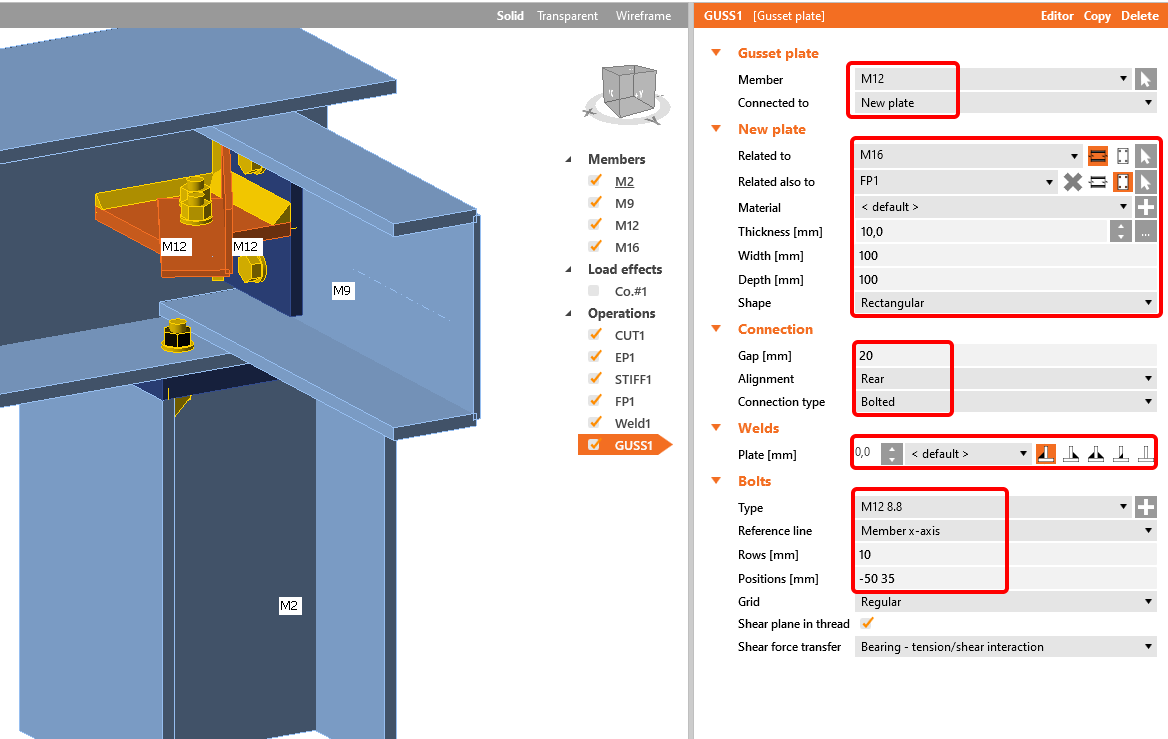
Ultima operație pe care trebuie să o aplicați este operația Gusset plate pentru a conecta diagonala.
Ultima operație în Member, pe care o veți aplica, sunt deschiderile de-a lungul elementului M3

4 Analiză
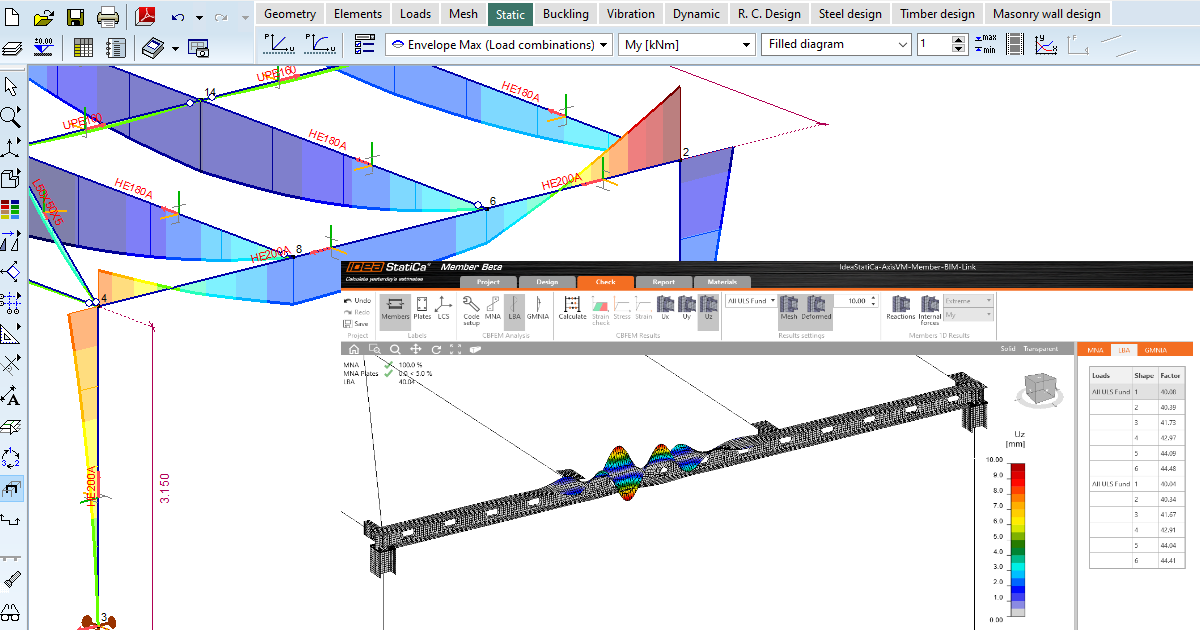
După finalizarea proiectării tuturor îmbinărilor, porniți analiza liniară făcând clic pe MNA și Calculate în fila Check.

Rezultatele arată astfel în imagine:

Următoarea analiză este Analiza Liniară de Flambaj, deci faceți clic pe LBA și Calculate.

După cum puteți observa, rezultatul acestei analize este mai mare decât 15, deci nu este necesar să continuați cu analiza geometrică și materială neliniară. Pentru mai multe informații, consultați articolul despre imperfecțiuni sau Baza teoretică.
5 Raport
În final, mergeți la fila Report. IDEA StatiCa oferă un raport complet personalizabil, care poate fi tipărit sau salvat într-un format editabil.
