
Grasshopper API-koppeling - hoe algemene platen en balken te importeren (04)
Deze tutorial maakt gebruik van Rhino 8. Als u werkt met IDEA StatiCa versie tot en met 24.1.3, zie dan deze tutorial.
Het is soms noodzakelijk om platen met ongebruikelijke vormen te gebruiken die willekeurig geroteerd zijn in de ruimte bij complexe verbindingen. Dit komt voornamelijk voor bij het schema van de verbinding dat is aangemaakt in software van derden. In dat geval kan de volgende tutorial u helpen begrijpen hoe u de gegevens importeert in IDEA StatiCa Connection.
Grasshopper - Installatie van de plugin
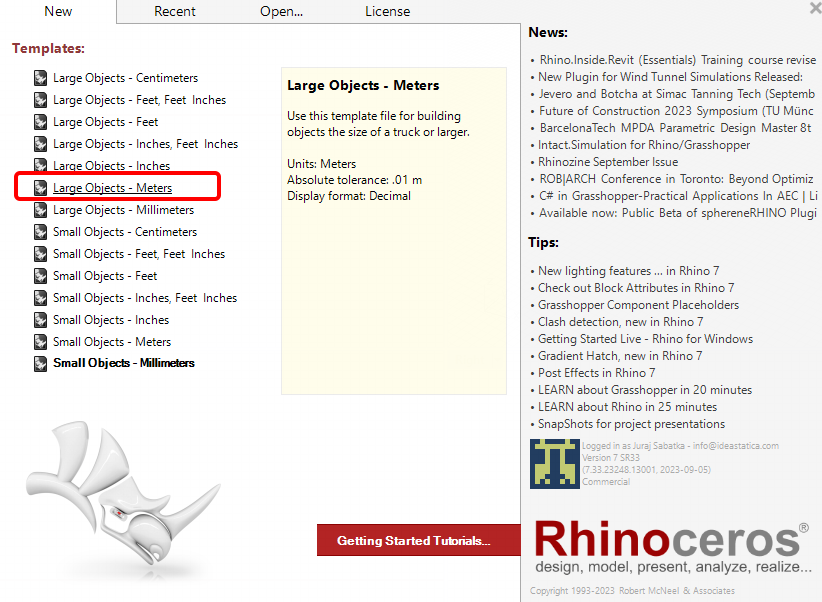
Je kunt een proefversie van Rhino3d en Grasshopper downloaden via de Rhino3d website. Start Rhinoceros en selecteer de template met Meters:
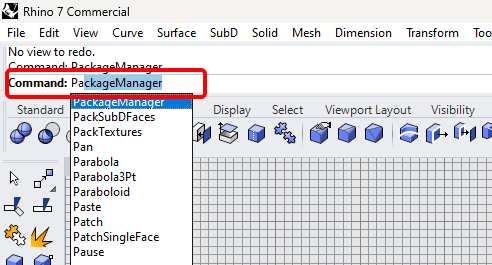
Voer in de command regel "Package Manager" in:
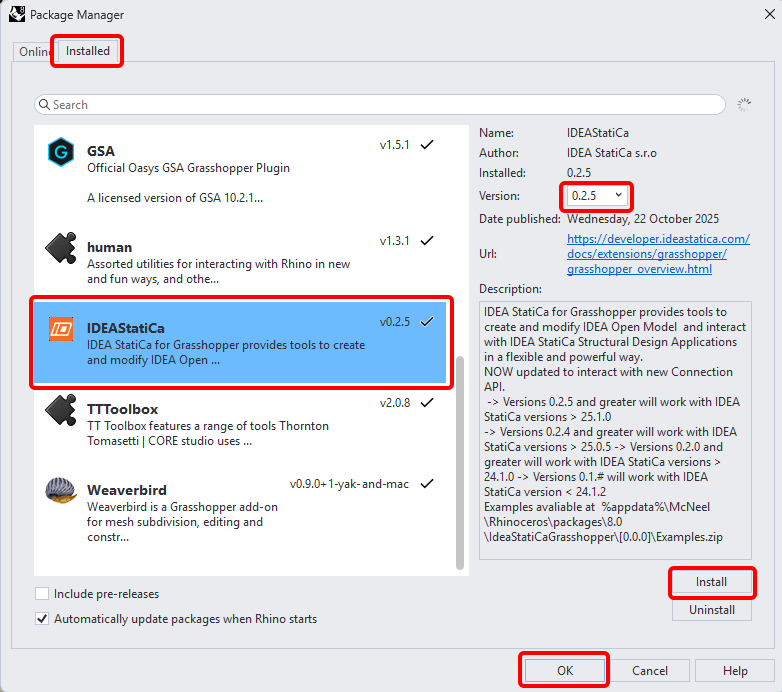
Een nieuw venster verschijnt; selecteer IDEAStatiCa en klik op Install. De plugin wordt gedownload en geïnstalleerd. Om actief te worden, is een herstart van Rhinoceros noodzakelijk.
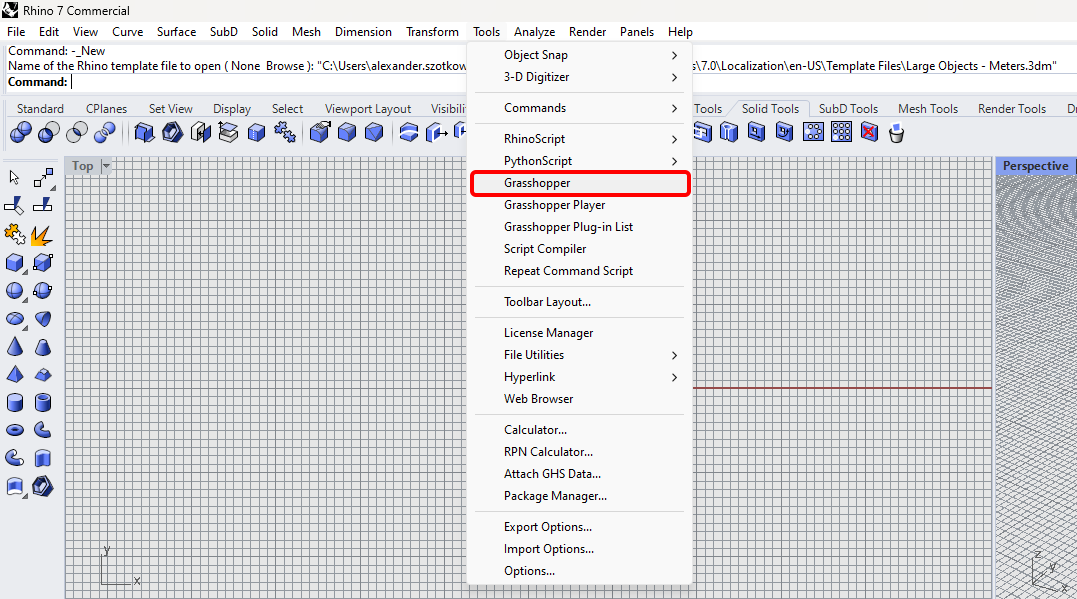
Om Grasshopper te starten met de IDEA StatiCa plugin, selecteer Tools / Grasshopper in het Rhihoceros tabblad.
Zoals u kunt zien, is de plugin nu beschikbaar.

Leer meer over de componenten en opdrachten in de IDEA StatiCa-plugin voor Grasshopper in het artikel Beschrijving van Grasshopper-plug-incomponenten.
Rhino-model
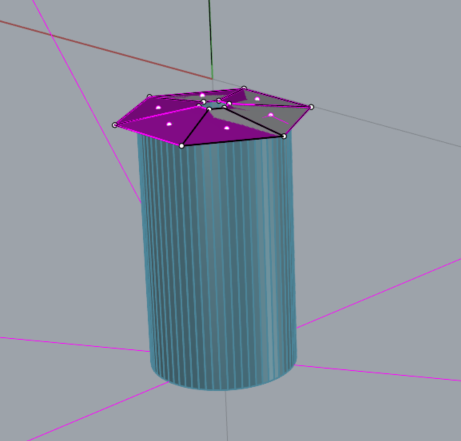
Open het bijgevoegde 3dm-bestand, dat een kolom met platen bevat. Dit model is rechtstreeks in Rhinoceros aangemaakt. Alle elementen moeten worden gedefinieerd door hun mediaanvlak of hartlijn. De dikte of vorm wordt later in Grasshopper bepaald.
Nu kunt u Grasshopper starten.
Importeren van de platen in Grasshopper
Sinds versie 24.1.4 beschikt IDEA StatiCa over een nieuwe API, die hier wordt beschreven.
Om Grasshopper-scripts uit te voeren, is het noodzakelijk om aan elk bestand een component Connection Service Runner, toe te voegen, die te vinden is in IDEA StatiCa / App Common.

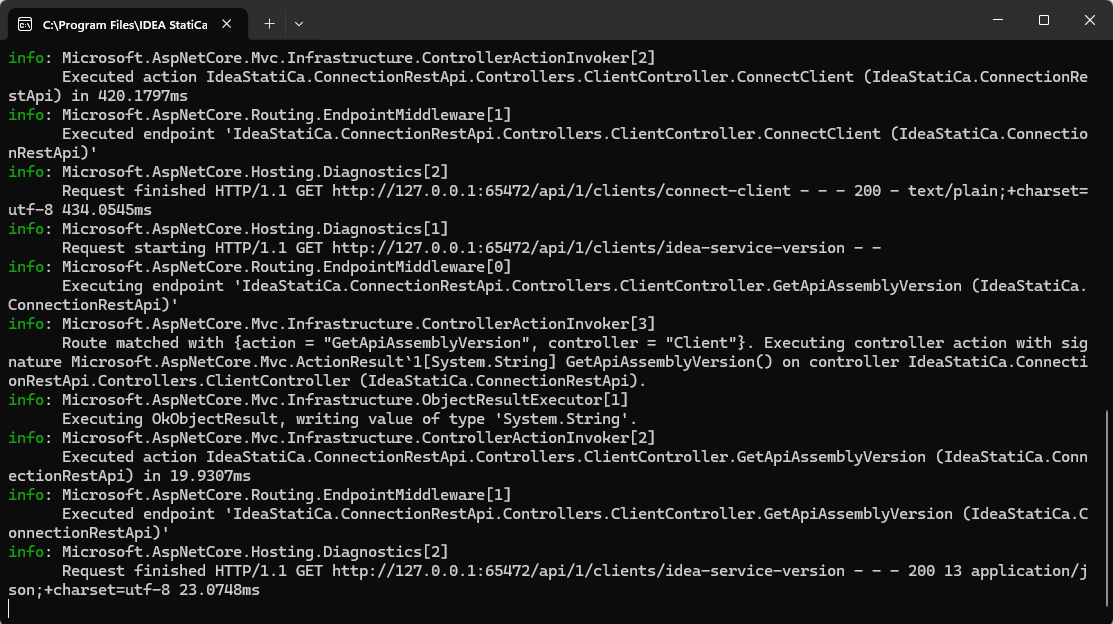
Om de Grasshopper-plugin te koppelen aan de juiste IDEA Connection-versie, voegt u de component File Path toe en koppelt u deze aan de actuele IDEA-map (C:\Program Files\IDEA StatiCa\StatiCa 25.1)
Wanneer u deze component uitvoert, zou het volgende venster moeten verschijnen.
Voor het importeren van een plaat dient u de volgende componenten toe te voegen:
Surface / Analysis / Deconstruct Brep
Surface / Freeform / Boundary Surfaces
IDEA StatiCa / Open Model Create / Create Plate(IOM)
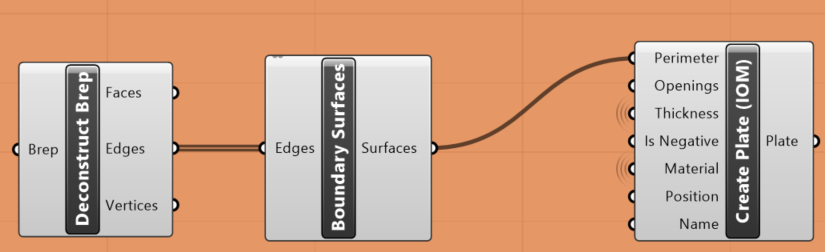
Dit moet zes keer worden geplaatst, omdat we in dit voorbeeld 6 platen hebben.
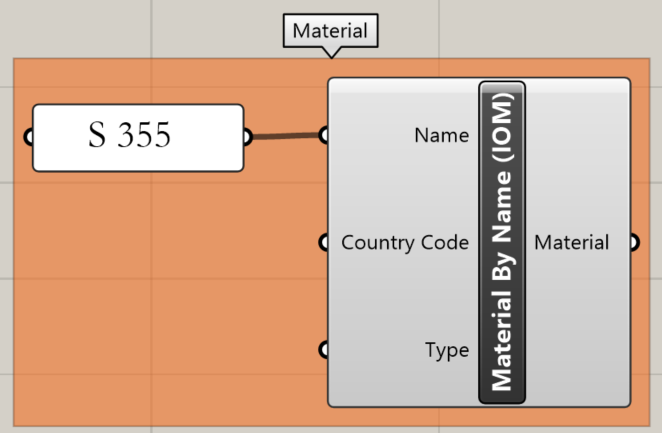
Ook het materiaal van de platen moet worden gedefinieerd. Gebruik hiervoor de volgende component:
IDEA StatiCa / Materials / Material by Name (IOM)
Importeren van de kolom in Grasshopper
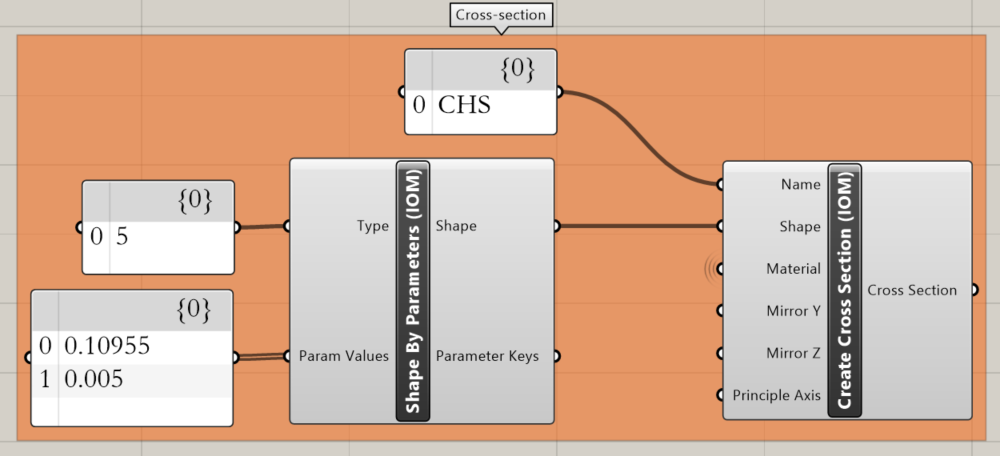
Nu kunnen we de doorsnede van de kolom definiëren. We hebben gekozen voor CHS 219,1/5, en de benodigde componenten hiervoor zijn als volgt:
IDEA StatiCa / Materials / Shape by Parameters (IOM)
IDEA StatiCa / Materials / Create Cross-Section (IOM)
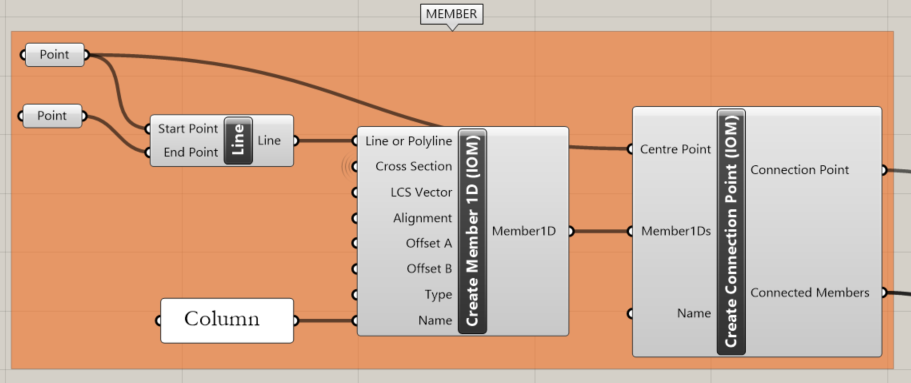
De volgende stap is het aanmaken van een staaf. Hiervoor moet u vanuit Rhino de eindpunten van de hartlijn van de buis overnemen met behulp van de component Params / Geometry / Point.
Params / Geometry / Line
IDEA StatiCa / Open Model Create / Create Member 1D (IOM)
IDEA StatiCa / Open Model Create / Create Connection Point (IOM)
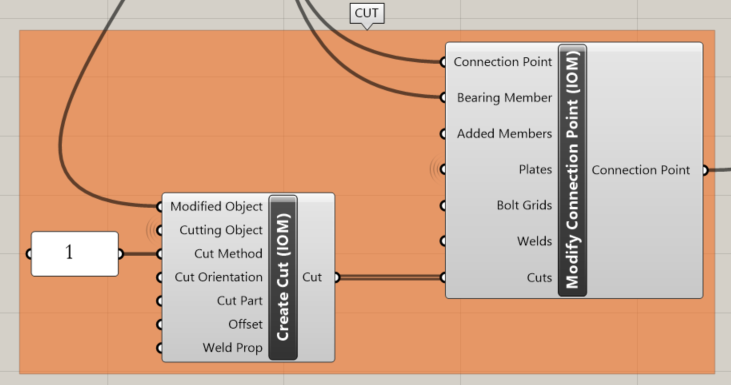
Om de kolom te trimmen met behulp van alle platen gebruiken we de volgende componenten:
IDEA StatiCa / Open Model Create / Create Cut (IOM)
IDEA StatiCa / Open Model Create / Modify Connection Point (IOM)
Aanmaken van een ideaCon-bestand
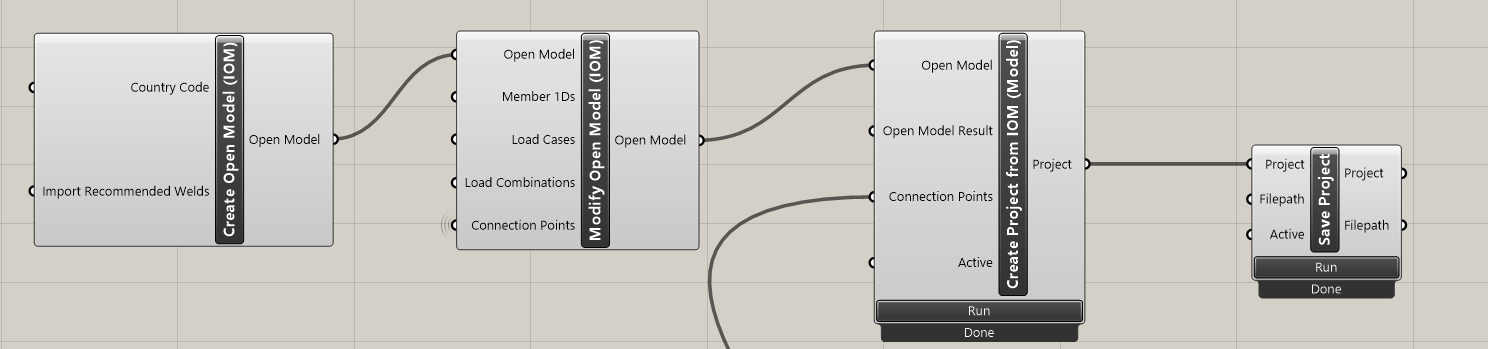
De laatste stap is het aanmaken van het ideaCon-bestand. Hiervoor hebben we de volgende componenten nodig:
IDEA StatiCa / Open Model / Create Open Model (IOM)
IDEA StatiCa / Open Model / Modify Open Model (IOM)
IDEA StatiCa / App Common / Create Project from IOM (Model)
IDEA StatiCa / App Common / Save Project
In de component File Path moet u de locatie instellen waar u het bestand wilt opslaan.
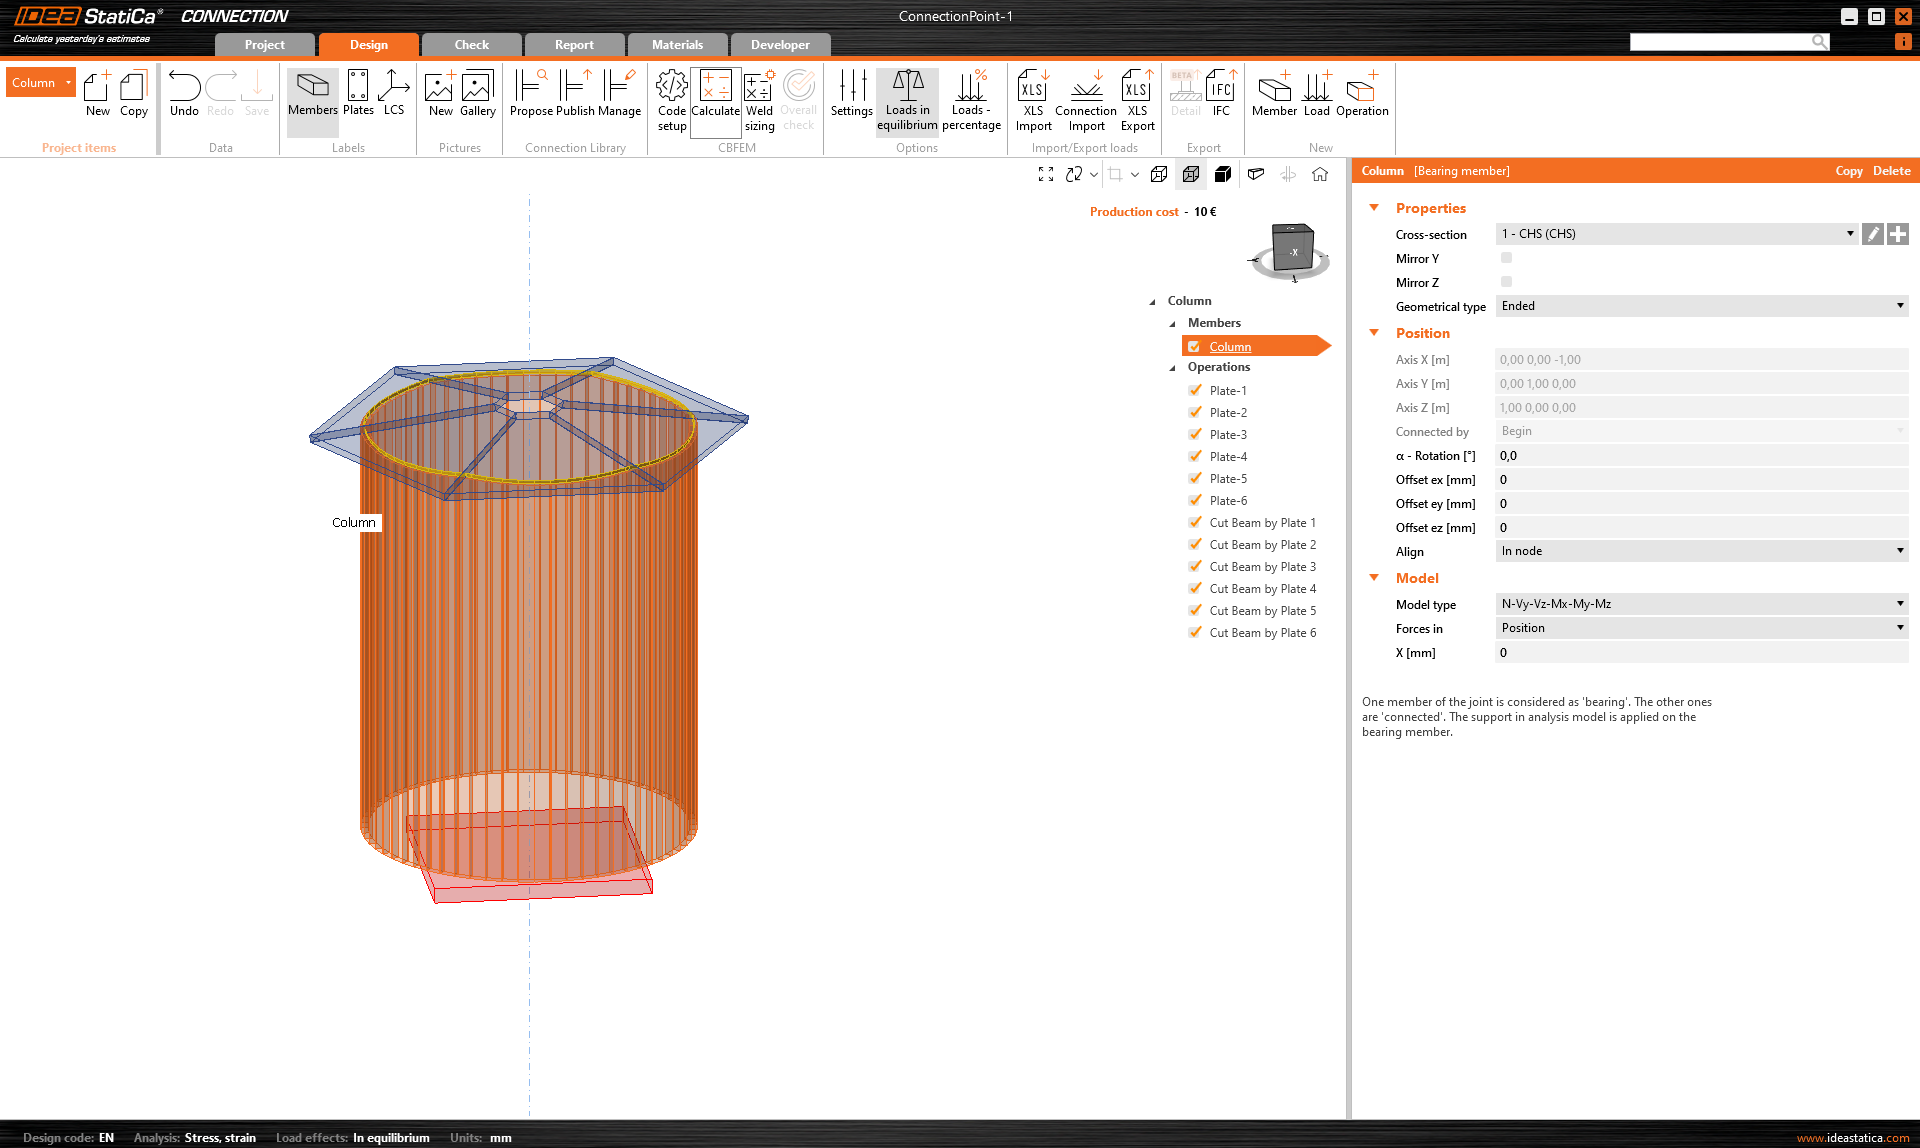
Wanneer u het bestand opent, krijgt u dit resultaat:
Toegevoegde downloads
- column with plates.3dm (3DM, 1,3 MB)
- ConnectionPoint-1.ideaCon (IDEACON, 9 kB)
- Example4-import-plates-as surface.gh (GH, 23 kB)