
Grasshopper API koppeling - Kostenraming (05) versie 24
Grasshopper - Installatie van de plugin
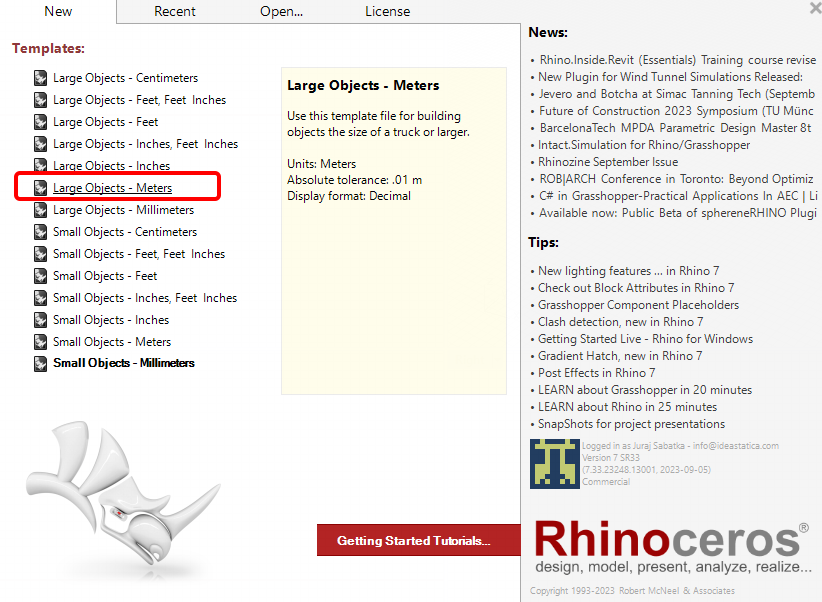
Je kunt een proefversie van Rhino3d en Grasshopper downloaden via de Rhino3d website. Start Rhinoceros en selecteer de template met Meters:
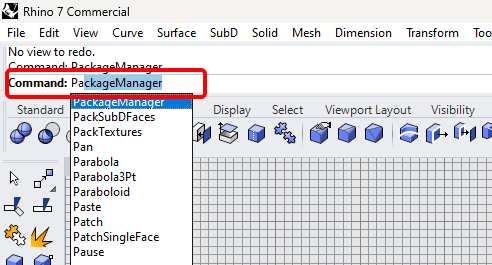
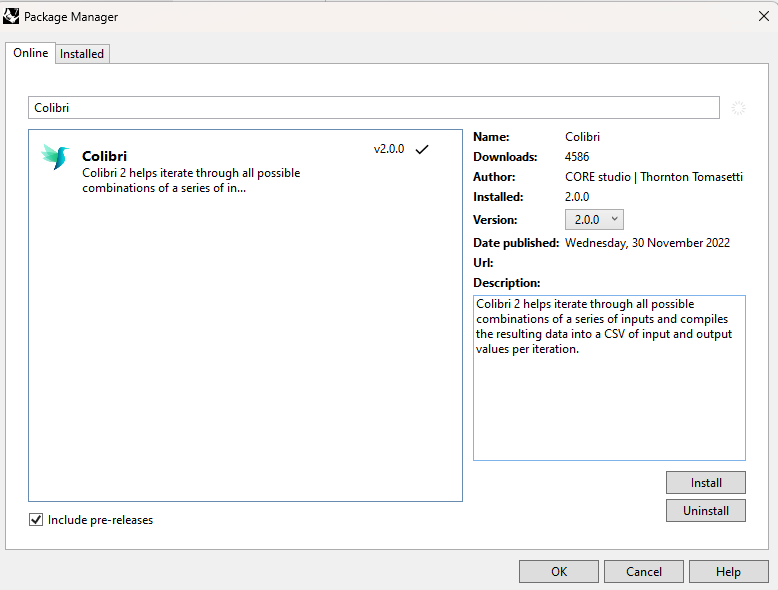
Voer in de command regel "Package Manager" in:
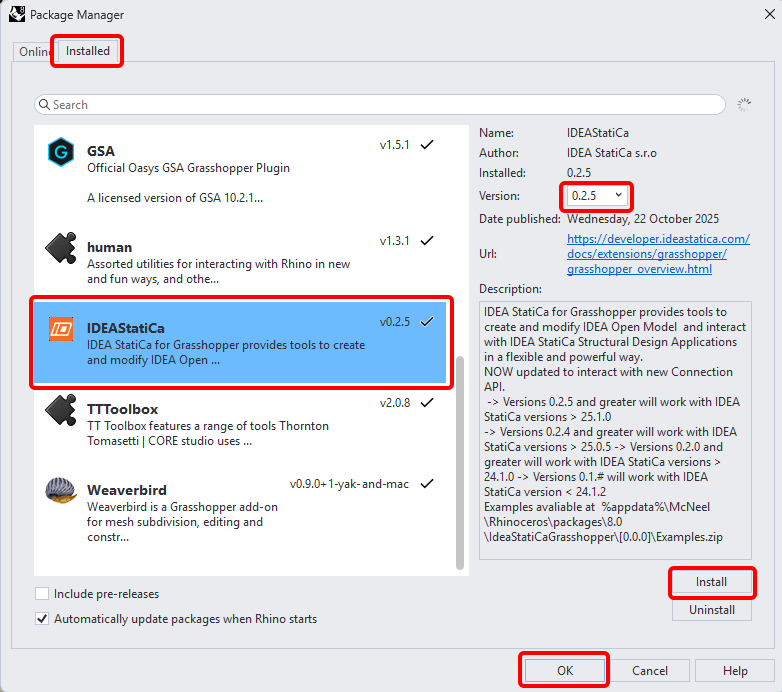
Een nieuw venster verschijnt; selecteer IDEAStatiCa en klik op Install. De plugin wordt gedownload en geïnstalleerd. Om actief te worden, is een herstart van Rhinoceros noodzakelijk.
Om Grasshopper te starten met de IDEA StatiCa plugin, selecteer Tools / Grasshopper in het Rhihoceros tabblad.
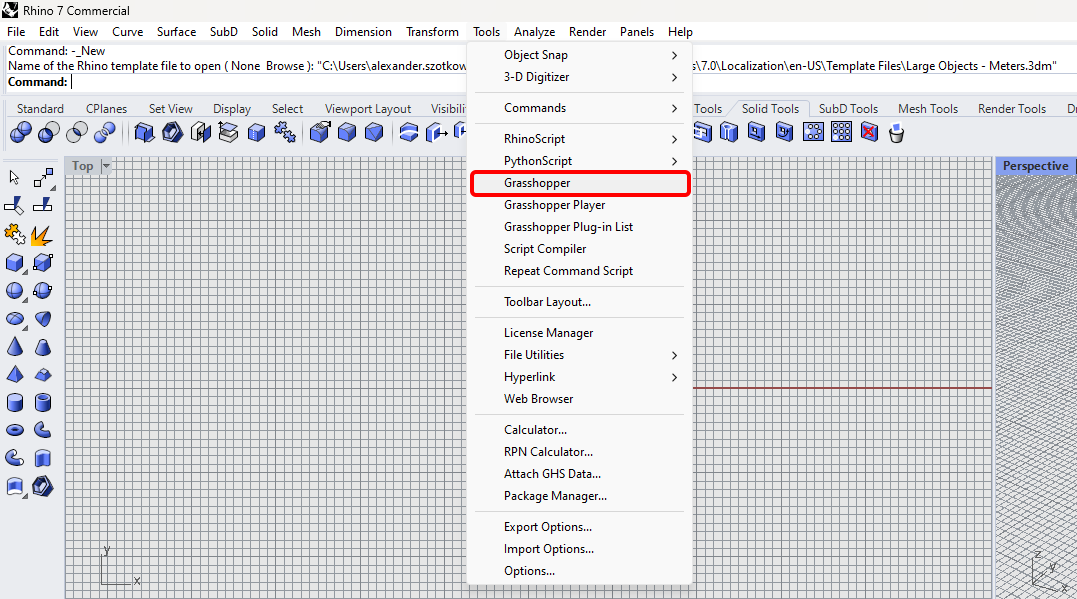
Zoals u kunt zien, is de plugin nu beschikbaar.

Leer meer over de componenten en opdrachten in de IDEA StatiCa-plugin voor Grasshopper in het artikel Beschrijving van Grasshopper-plug-incomponenten.
Colibri plugin
Omdat Grasshopper niet met lussen kan werken, moet u een andere plugin installeren - COLIBRI, die u in deze tutorial zult gebruiken.
IDEA StatiCa Connection – Ontwerp van een verbinding en parameters instellen
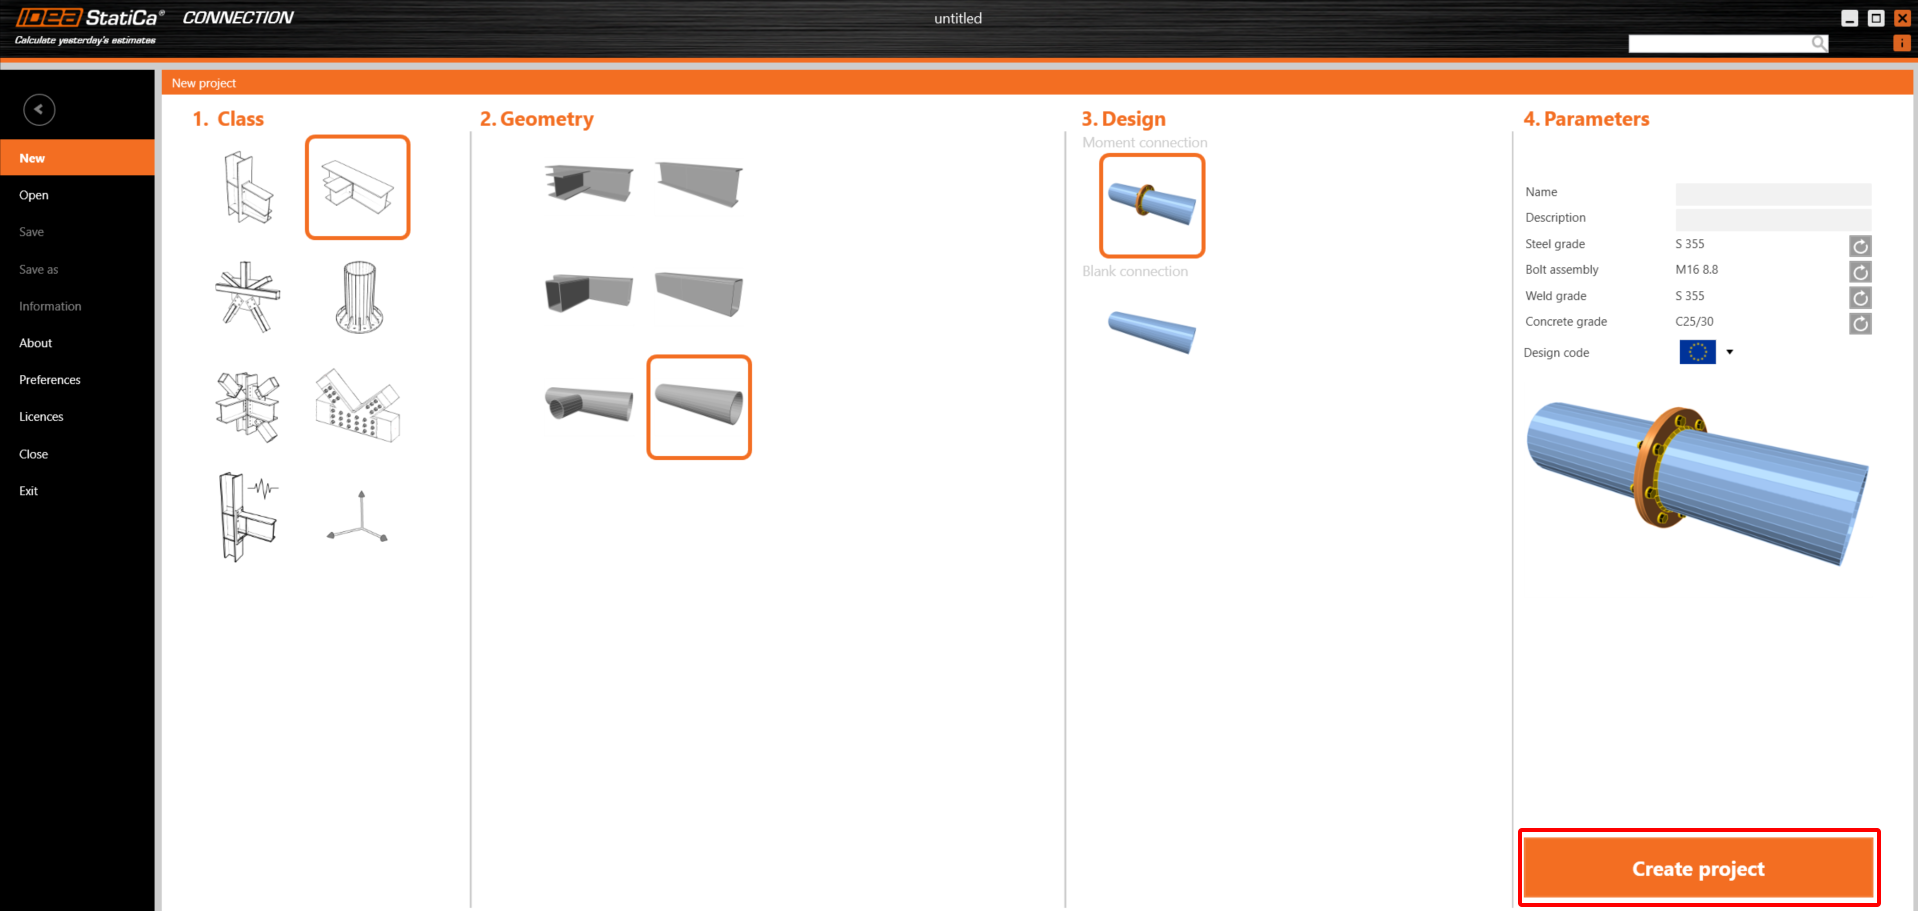
Voor het voorbeeld maakt u een eenvoudige momentverbinding met behulp van een template:
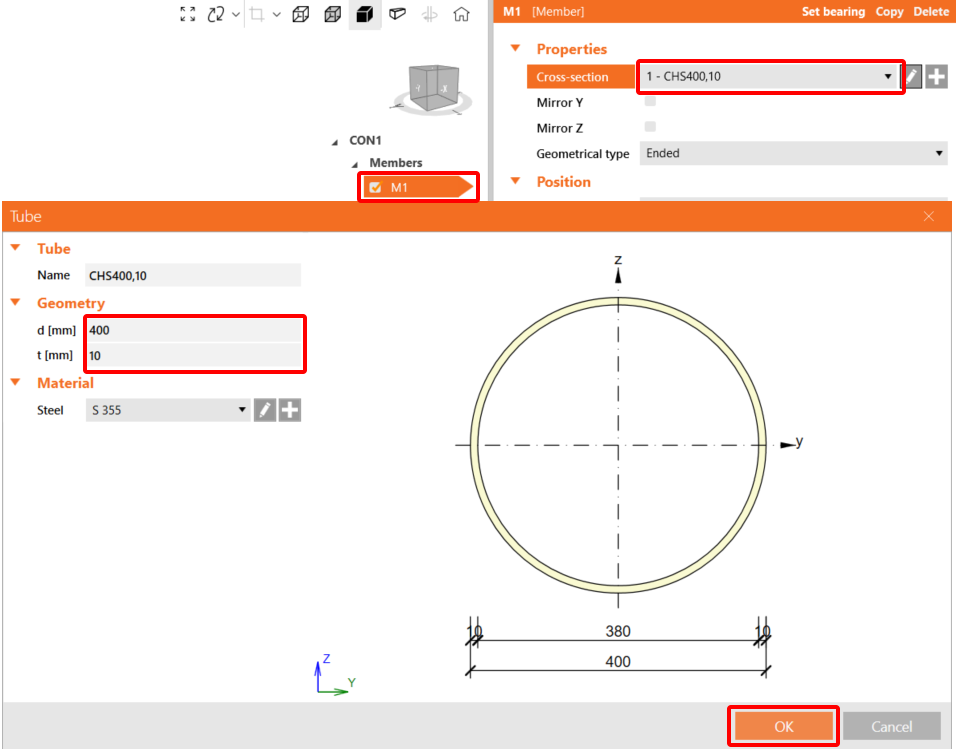
Wijzig beide doorsneden naar de CHS400,10.
Wijzig nu de bewerking Plate to Plate volgens de volgende afbeelding:

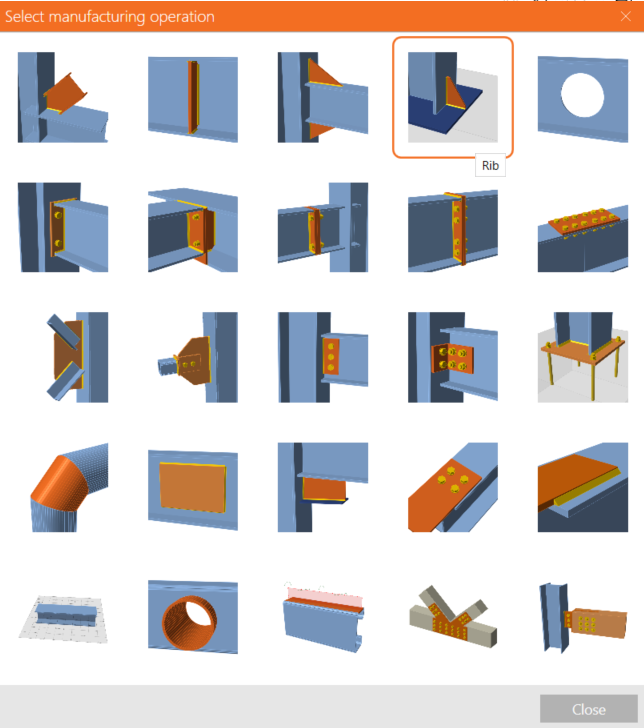
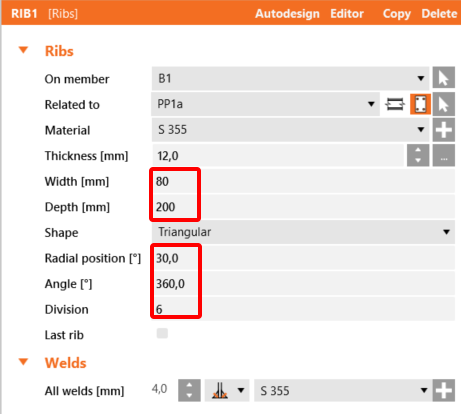
Voeg bewerking Rib toe met de huidige instellingen:
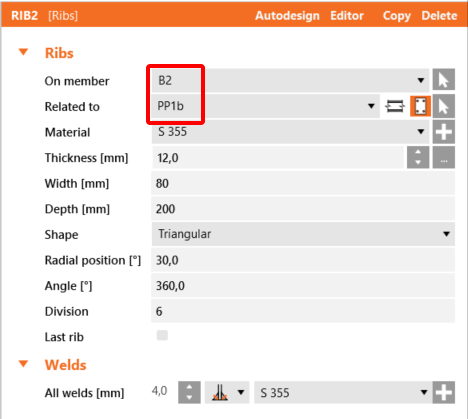
Kopieer deze bewerking en stel deze waarden in:
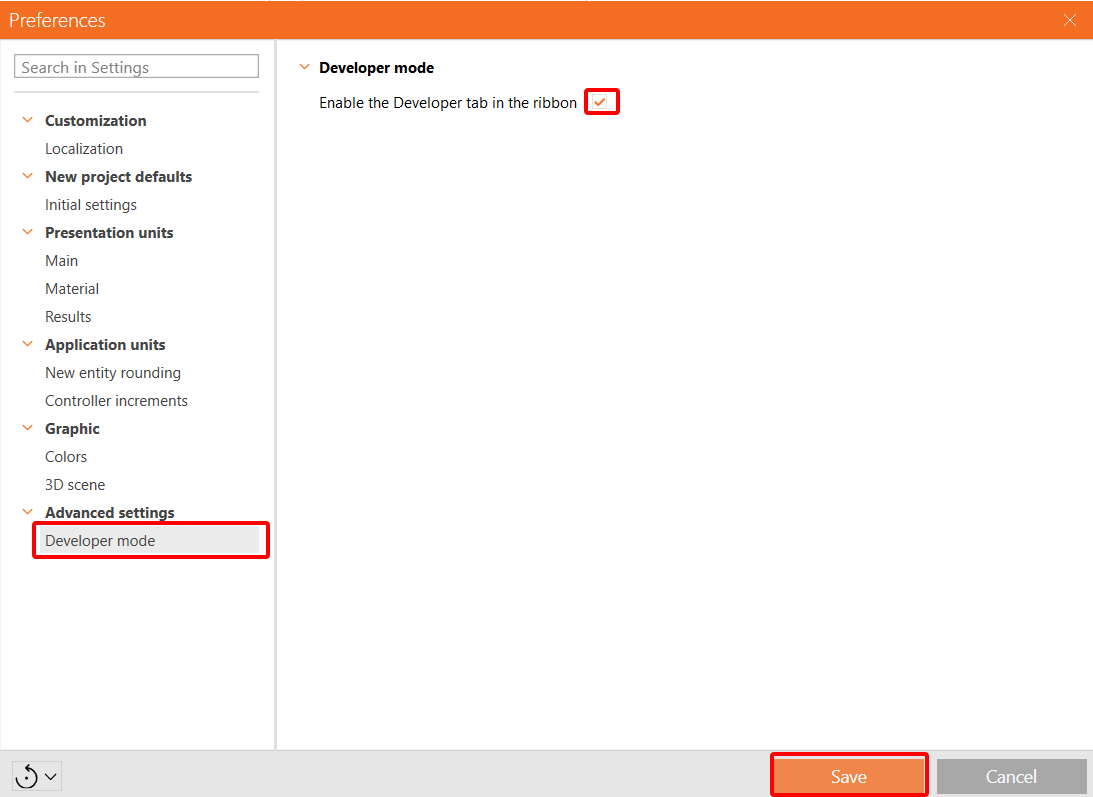
Om met parameters te kunnen werken, is het noodzakelijk om het tabblad Ontwikkelaar in te schakelen via Voorkeuren / Geavanceerde instellingen:
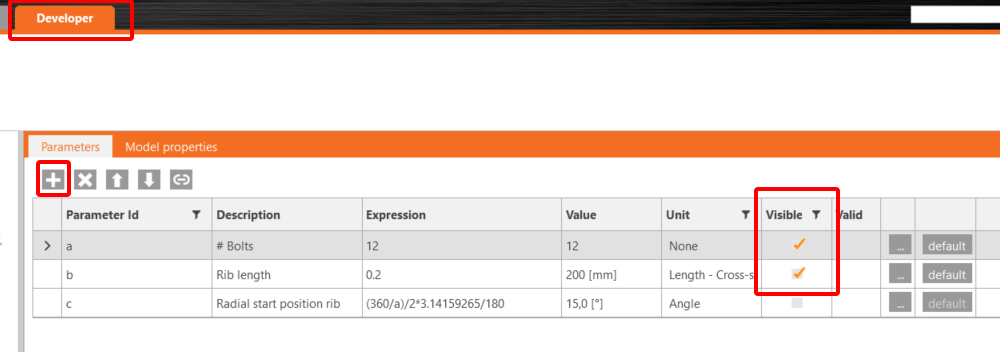
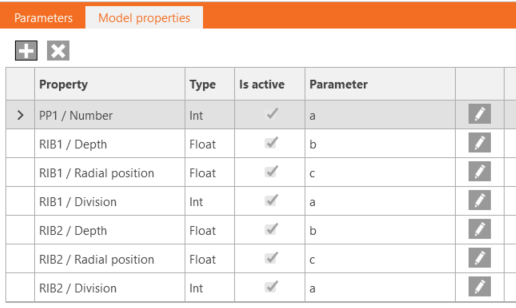
Nu moet u drie parameters instellen voor deze verbinding. Klik op het tabblad Ontwikkelaar op de knop + en stel de waarden in. De eerste is de diameter van de bouten, de tweede de lengte van de rib en de derde de positie van de rib. Stel beide parameters a en b in op Zichtbaar.
Verbind alle drie de parameters met de bijbehorende waarden van de overeenkomstige bewerkingen.
Ten slotte kunt u deze verbinding opslaan onder de naam Model_costs_template.ideaCon.
Grasshopper - Importeren van het *ideaCon-bestand en toevoegen van componenten
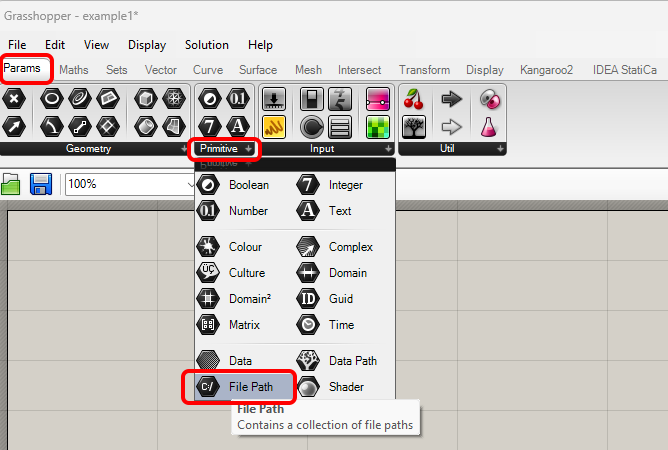
Maak een nieuw document aan, selecteer het tabblad Params in het bovenste lint en plaats de component File Path op het canvas.
Klik met de rechtermuisknop op de component en selecteer het bestand Model_costs_template.ideaCon dat u eerder hebt opgeslagen.
Opmerking: Als u het bijgevoegde bestand opent, moet u dit pad dienovereenkomstig wijzigen.
Controleer het bijgevoegde bestand voor alle componenten die kostenraming mogelijk maken.
U kunt ook de video bekijken, waarin de workflow te zien is.
Hier is de eindvideo met het uitvoeren van het script.
Toegevoegde downloads
- Model_costs_template.ideaCon (IDEACON, 127 kB)
- Parametric_cost_estimation.gh (GH, 20 kB)