

第一步
我们建议先阅读教程 如何开始使用 API - 基础知识 01,该教程将介绍 API 的基本概念以及如何配置环境。
Connection 文件
本示例基于教程 如何开始使用 API - 导入模板并运行计算 03 中创建的文件。
请下载文件 tutorial 03 with template-new.ideaCon。
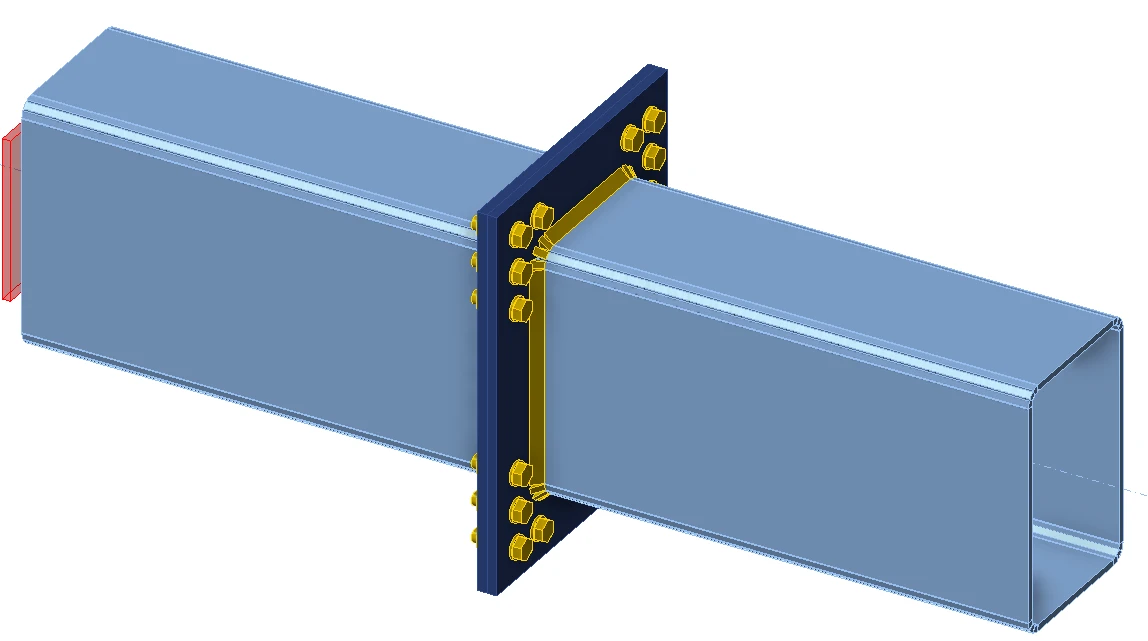
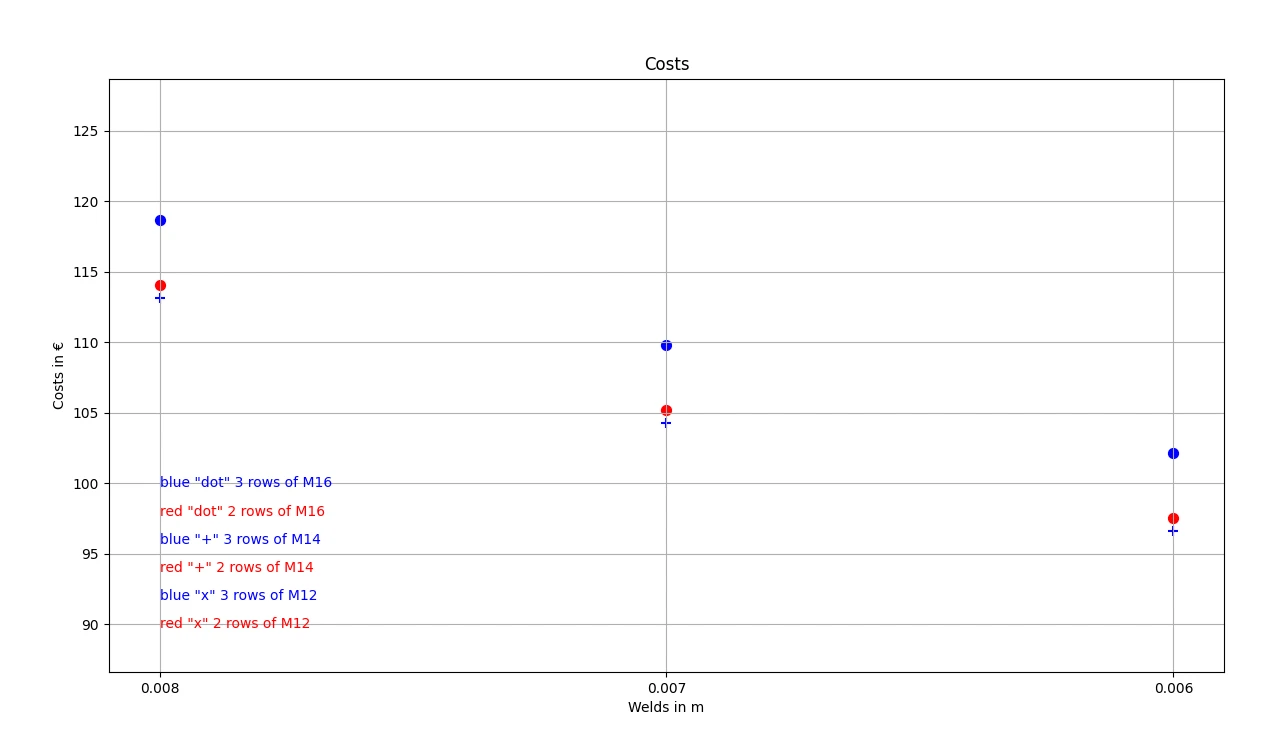
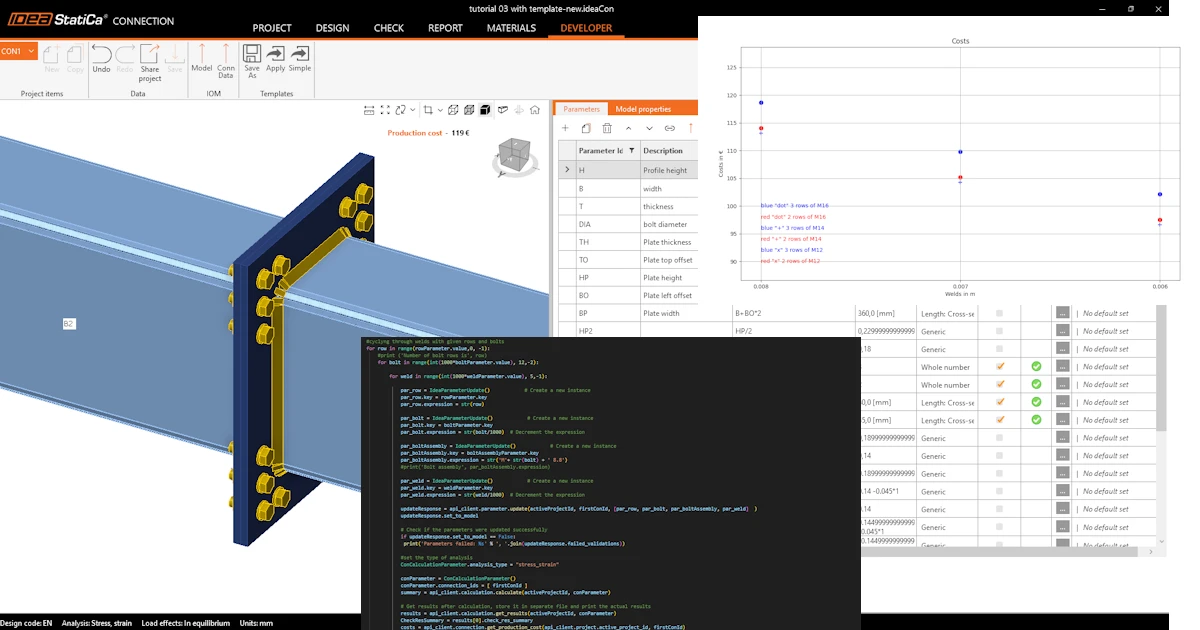
我们希望优化节点的组件(焊缝、直径及螺栓数量)。优化结果为节点的造价,并以图表的形式直观呈现。
Python 客户端
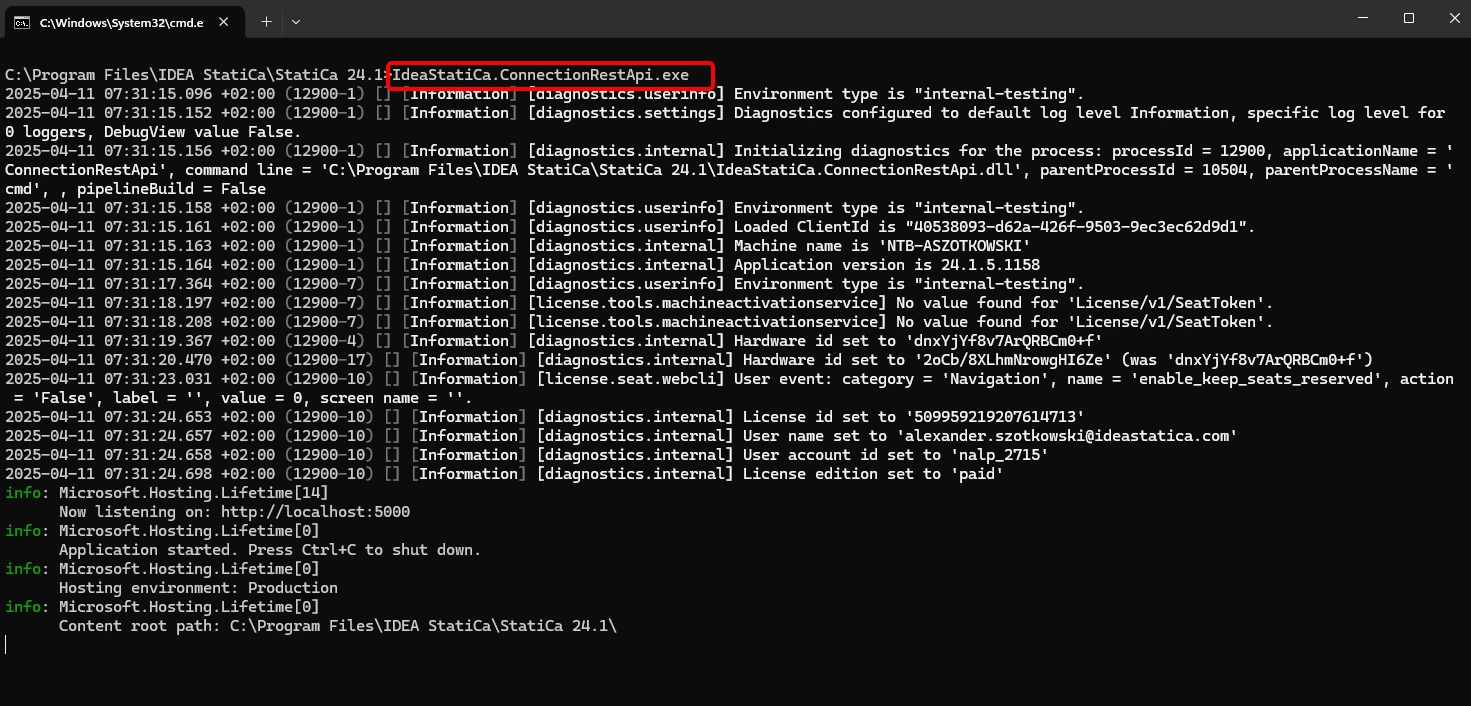
在 CMD 中于正确的 IDEA StatiCa 文件夹内运行"IdeaStatiCa.ConnectionRestApi.exe",然后打开您选择的 IDE 工具。
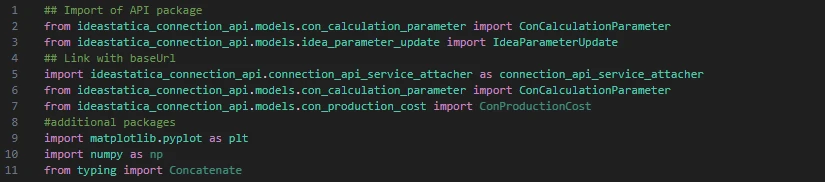
- 新建一个文件并 导入所需的包,以启用计算功能并与本地主机 URL 建立连接。
源代码:
## 导入 API 包
from ideastatica_connection_api.models.con_calculation_parameter import ConCalculationParameter
## 与 baseUrl 建立连接
import ideastatica_connection_api.connection_api_service_attacher as connection_api_service_attacher
from ideastatica_connection_api.models.con_calculation_parameter import ConCalculationParameterfrom ideastatica_connection_api.models.con_production_cost import ConProductionCost
#附加包
import matplotlib.pyplot as plt
import numpy as np
from typing import Concatenate
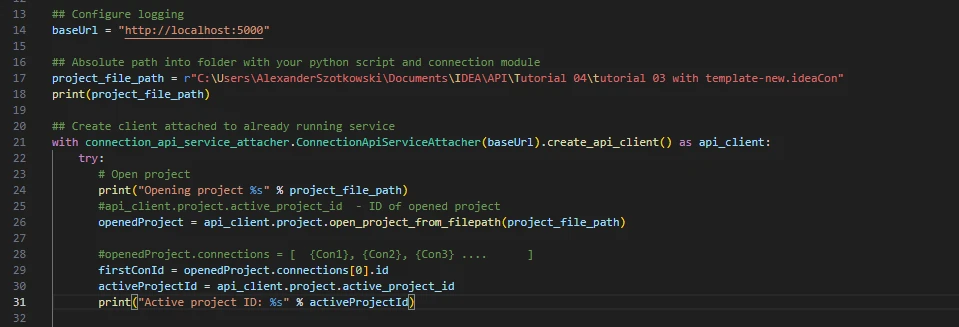
- 通过变量"baseUrl"配置日志记录,该变量将调用您的本地主机。第二步,配置您的 IDEA StatiCa Connection 文件的绝对路径。
## 配置日志记录
baseUrl = "http://localhost:5000"
## 包含 Python 脚本和 Connection 模块的文件夹的绝对路径
project_file_path = r"C:\Users\AlexanderSzotkowski\Documents\IDEA\API\Tutorial 04\tutorial 03 with template -new.ideaCon"
print(project_file_path)
- 将客户端与已运行的服务配对。使用 try/except 块——当 try 块引发错误时,将执行 except 块。第一阶段需要打开项目并获取项目 ID,该 ID 对每个 IDEA StatiCa 项目是唯一的。然后选择文件中存储的第一个节点。
# 创建连接到已运行服务的客户端
with connection_api_service_attacher.ConnectionApiServiceAttacher(baseUrl).create_api_client() as api_client:
try:
# 打开项目
print("Opening project %s" % project_file_path)
#api_client.project.active_project_id - 已打开项目的 ID
openedProject = api_client.project.open_project_from_filepath(project_file_path)
#openedProject.connections = [ {Con1}, {Con2}, {Con3} .... ]
firstConId = openedProject.connections[0].id
activeProjectId = api_client.project.active_project_id
print("Active project ID: %s" % activeProjectId)
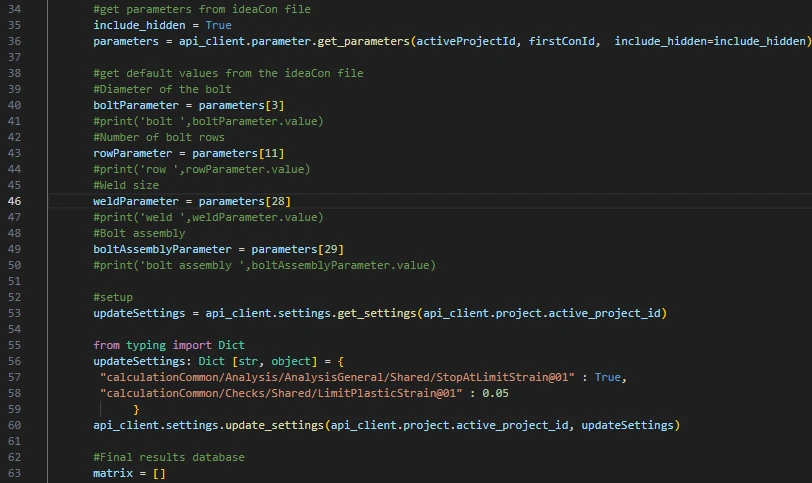
- 从 ideaCon 文件中获取所有所需的参数(螺栓数量、直径、焊缝尺寸、螺栓组件)
#从 ideaCon 文件获取参数
include_hidden = True
parameters = api_client.parameter.get_parameters(activeProjectId, firstConId, include_hidden=include_hidden)
#从 ideaCon 文件获取默认值
#螺栓直径
boltParameter = parameters[3]
#print('bolt ',boltParameter.value)
#螺栓排数
rowParameter = parameters[11]
#print('row ',rowParameter.value)
#焊缝尺寸
weldParameter = parameters[28]
#print('weld ',weldParameter.value)
#螺栓组件
boltAssemblyParameter = parameters[29]
#print('bolt assembly ',boltAssemblyParameter.value)
- 我们希望仅在所有部件(板件、焊缝、螺栓)的计算结果均为 100% 满足时才获取结果,因此需要将在极限应变处停止设置为True。结果将存储在名为 matrix 的列表中,随后用于显示图表。
#设置
updateSettings = api_client.settings.get_settings(api_client.project.active_project_id)
from typing import Dict
updateSettings: Dict [str, object] = {
"calculationCommon/Analysis/AnalysisGeneral/Shared/StopAtLimitStrain@01" : True,
"calculationCommon/Checks/Shared/LimitPlasticStrain@01" : 0.05
}
api_client.settings.update_settings(api_client.project.active_project_id, updateSettings)
#最终结果数据库
matrix = []
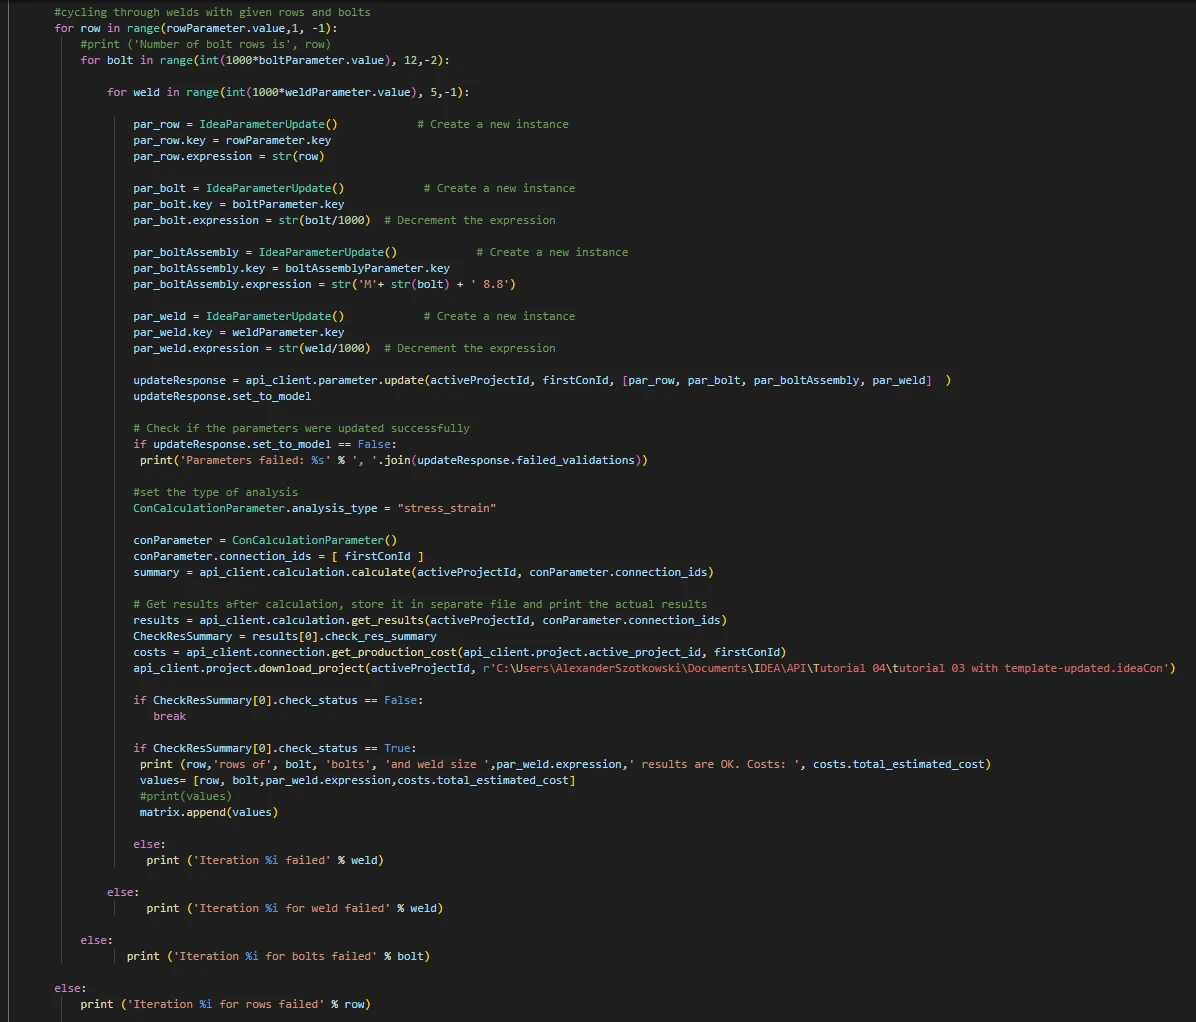
- 现在,我们开始循环,依次改变焊缝尺寸(从 t = 8 mm 到 5 mm)、螺栓直径(从 M16 到 M12)以及排数(从 3 排到 1 排)。数值 8、M16 和 3 均取自 ideaCon 文件。计算过程中的结果将打印在屏幕上,并同时添加到结果列表中。
#在给定排数和螺栓条件下循环遍历焊缝
for row in range(rowParameter.value,1, -1):
#print ('Number of bolt rows is', row)
for bolt in range(int(1000*boltParameter.value), 12,-2):
for weld in range(int(1000*weldParameter.value), 5,-1):
par_row = IdeaParameterUpdate() # 创建新实例
par_row.key = rowParameter.key
par_row.expression = str(row)
par_bolt = IdeaParameterUpdate() # 创建新实例
par_bolt.key = boltParameter.key
par_bolt.expression = str(bolt/1000) # 递减表达式
par_boltAssembly = IdeaParameterUpdate() # 创建新实例
par_boltAssembly.key = boltAssemblyParameter.key
par_boltAssembly.expression = str('M'+ str(bolt) + ' 8.8')
par_weld = IdeaParameterUpdate() # 创建新实例
par_weld.key = weldParameter.key
par_weld.expression = str(weld/1000) # 递减表达式
updateResponse = api_client.parameter.update(activeProjectId, firstConId, [par_row, par_bolt, par_boltAssembly, par_weld] )
updateResponse.set_to_model
# 检查参数是否更新成功
if updateResponse.set_to_model == False:
print('Parameters failed: %s' % ', '.join(updateResponse.failed_validations))
#设置分析类型
ConCalculationParameter.analysis_type = "stress_strain"
conParameter = ConCalculationParameter()
conParameter.connection_ids = [ firstConId ]
summary = api_client.calculation.calculate(activeProjectId, conParameter.connection_ids)
# 计算完成后获取结果,存储至单独文件并打印当前结果
results = api_client.calculation.get_results(activeProjectId, conParameter.connection_ids)
CheckResSummary = results[0].check_res_summary
costs = api_client.connection.get_production_cost(api_client.project.active_project_id, firstConId)
api_client.project.download_project(activeProjectId, r'C:\Users\AlexanderSzotkowski\Documents\IDEA\API\Tutorial 04\tutorial 03 with template-updated.ideaCon')
if CheckResSummary[0].check_status == False:
break
if CheckResSummary[0].check_status == True:
print (row,'rows of', bolt, 'bolts', 'and weld size ',par_weld.expression,' results are OK. Costs: ', costs.total_estimated_cost)
values= [row, bolt,par_weld.expression,costs.total_estimated_cost]
#print(values)
matrix.append(values)
else:
print ('Iteration %i failed' % weld)
else:
print ('Iteration %i for weld failed' % weld)
else:
print ('Iteration %i for bolts failed' % bolt)
else:
print ('Iteration %i for rows failed' % row)
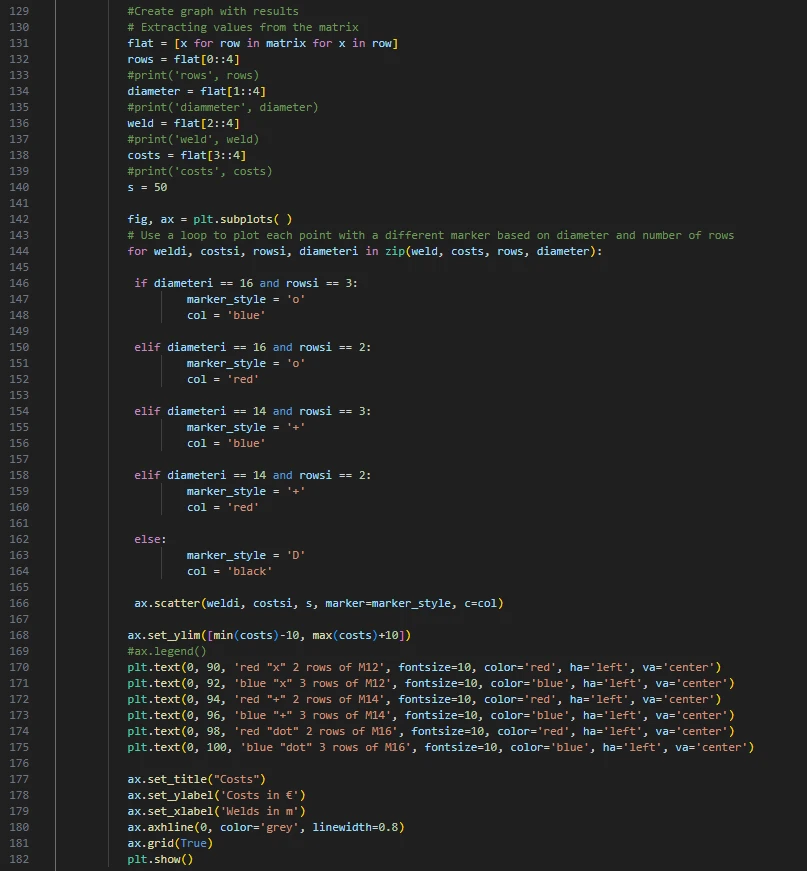
- 最后一部分是根据计算结果生成图表。
#根据结果创建图表
# 从矩阵中提取数值
flat = [x for row in matrix for x in row]
rows = flat[0::4]
#print('rows', rows)
diameter = flat[1::4]
#print('diammeter', diameter)
weld = flat[2::4]
#print('weld', weld)
costs = flat[3::4]
#print('costs', costs)
s = 50
fig, ax = plt.subplots( )
# 使用循环根据直径和排数以不同标记绘制每个点
for weldi, costsi, rowsi, diameteri in zip(weld, costs, rows, diameter):
if diameteri == 16 and rowsi == 3:
marker_style = 'o'
col = 'blue'
elif diameteri == 16 and rowsi == 2:
marker_style = 'o'
col = 'red'
elif diameteri == 14 and rowsi == 3:
marker_style = '+'
col = 'blue'
elif diameteri == 14 and rowsi == 2:
marker_style = '+'
col = 'red'
else:
marker_style = 'D'
col = 'black'
ax.scatter(weldi, costsi, s, marker=marker_style, c=col)
ax.set_ylim([min(costs)-10, max(costs)+10])
#ax.legend()
plt.text(0, 90, 'red "x" 2 rows of M12', fontsize=10, color='red', ha='left', va='center')
plt.text(0, 92, 'blue "x" 3 rows of M12', fontsize=10, color='blue', ha='left', va='center')
plt.text(0, 94, 'red "+" 2 rows of M14', fontsize=10, color='red', ha='left', va='center')
plt.text(0, 96, 'blue "+" 3 rows of M14', fontsize=10, color='blue', ha='left', va='center')
plt.text(0, 98, 'red "dot" 2 rows of M16', fontsize=10, color='red', ha='left', va='center')
plt.text(0, 100, 'blue "dot" 3 rows of M16', fontsize=10, color='blue', ha='left', va='center')
ax.set_title("Costs")
ax.set_ylabel('Costs in €')
ax.set_xlabel('Welds in m')
ax.axhline(0, color='grey', linewidth=0.8)
ax.grid(True)
plt.show()
如您所见,在本案例中,最经济的节点方案为采用 6 mm 焊缝及三排 M14 螺栓。